
Uses Bytewax Version 0.9.0
Real-time data is largely used to support real-time analytics, which is the process of transforming raw data into insights as soon as it’s collected. This type of data and analysis are particularly useful when businesses need to respond swiftly to changing dynamics.
Fraud detection, advertising and marketing campaigns, and fine-tuning application features are just some examples of when this type of data is relevant. You can use Amazon Kinesis Data Analytics to easily write SQL code that reads, analyzes, and saves data in near real time. You can build applications that convert and deliver insights into your data using normal SQL queries on streaming data.
This article will explain real-time data in a little more detail, including expanding its use cases. It also includes a tutorial on how to create a data stream in AWS Kinesis, produce data to Kinesis Data Streams, build a Python Docker image locally to ingest data from Kinesis Data Streams, and deploy a Docker container on AWS to ingest data from Kinesis. You will also learn what the Bytewax library can do and how to use it to create a data processing pipeline (Bytewax dataflow) on a data stream.
What Is Real-Time Data Analytics?
As mentioned, real-time data analytics refers to measuring data as soon as it is produced. Insights from these analytics are particularly useful for modern businesses, as they can reveal why your customers behave in certain ways or how to optimize your offering for customer satisfaction. For example, they can identify your customers’ most-bought item or your service’s most-used feature. Real-time data analytics can also save money by reducing the workload of the IT department, such as with scripts that analyze server logs and send alerts if there is an issue.
Real-time analytics are very important in IoT, where many devices send huge volumes of data continuously. For example, in the warehouse industry, industrial fridges will send large volumes of data about their temperature and other conditions, and this data needs to be processed and analyzed in real time to prevent technical problems such as a fridge not cooling, which would lead to significant stock and monetary losses.
Real-time data enables companies to obtain better visibility of their performance across their networks and provides insights into how things can be improved.
As mentioned previously, there are a number of use cases where analyzing real-time data can be particularly beneficial.
Detecting Anomalies and Fraud in Real Time
With real-time data analysis, you can find unusual patterns of occurrences, observations, or sets of data that do not conform to expected typical behavior. This is known as anomaly detection. You can apply a variety of anomaly detection techniques, such as clustering and rule-based algorithms, to real-world situations like fraud detection.
Empowering Advertising and Marketing Campaigns
In the past, you couldn't do much with customer and performance data until you had a certain volume of it. For example, if you wanted to determine if a product is performing well, you'd have to collect performance data for that product over a long period of time. Thanks to contemporary analytics, you can now perform tests and receive results in real time, opening up a slew of new opportunities for any brand or organization.
Fine-Tuning App Features
In today’s marketplace solutions, many companies are investing in studying user behavior to improve their campaigns or their new features. Tools and integrated solutions like Mixpanel rely on real-time data analytics to capture and analyze user behavior. With this analytical data, you can understand how users interact with your application.
For example, you can determine why there are drop rates between stages in the purchasing journey in your application, like between order placement and checkout. You can also identify which features are being used or clicked more than others. These are important elements to consider for any business seeking to grow and expand their market share. Real-time analytics provide insights you can use to fine-tune your app, such as identifying the features your users interact with most frequently.
Implementing Real-Time Data Analytics in Python with AWS Kinesis
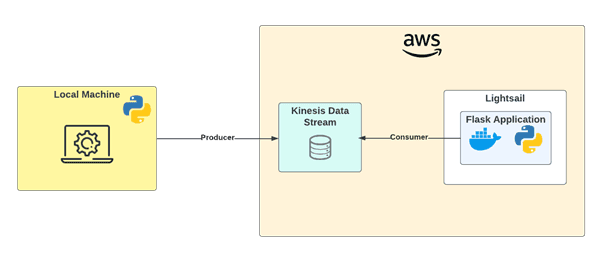
Processing data when reading from any source is one of the most significant bottlenecks in data streaming. Follow this step-by-step tutorial to learn how to run a sample of data on Kinesis Data Streams and ingest the data using a Bytewax dataflow application that will be running in a Docker container.
As a high level overview, you’ll be:
- Creating a Kinesis data stream on AWS
- Producing data to a Kinesis data stream from your local machine
- Deploying a Docker container on AWS
- Ingesting and processing a data stream from Kinesis using Boto3 and Bytewax
You can find all the files used in this tutorial in this GitHub repository.
Creating a Kinesis Data Stream on AWS
Before you can analyze data with Kinesis Data Analytics, you’ll need to send your data to Kinesis Data Streams.
Note that Kinesis Data Streams is a paid service; it’s not covered by the Free Tier that you get when creating a new account on AWS.
Configuring a Data Stream
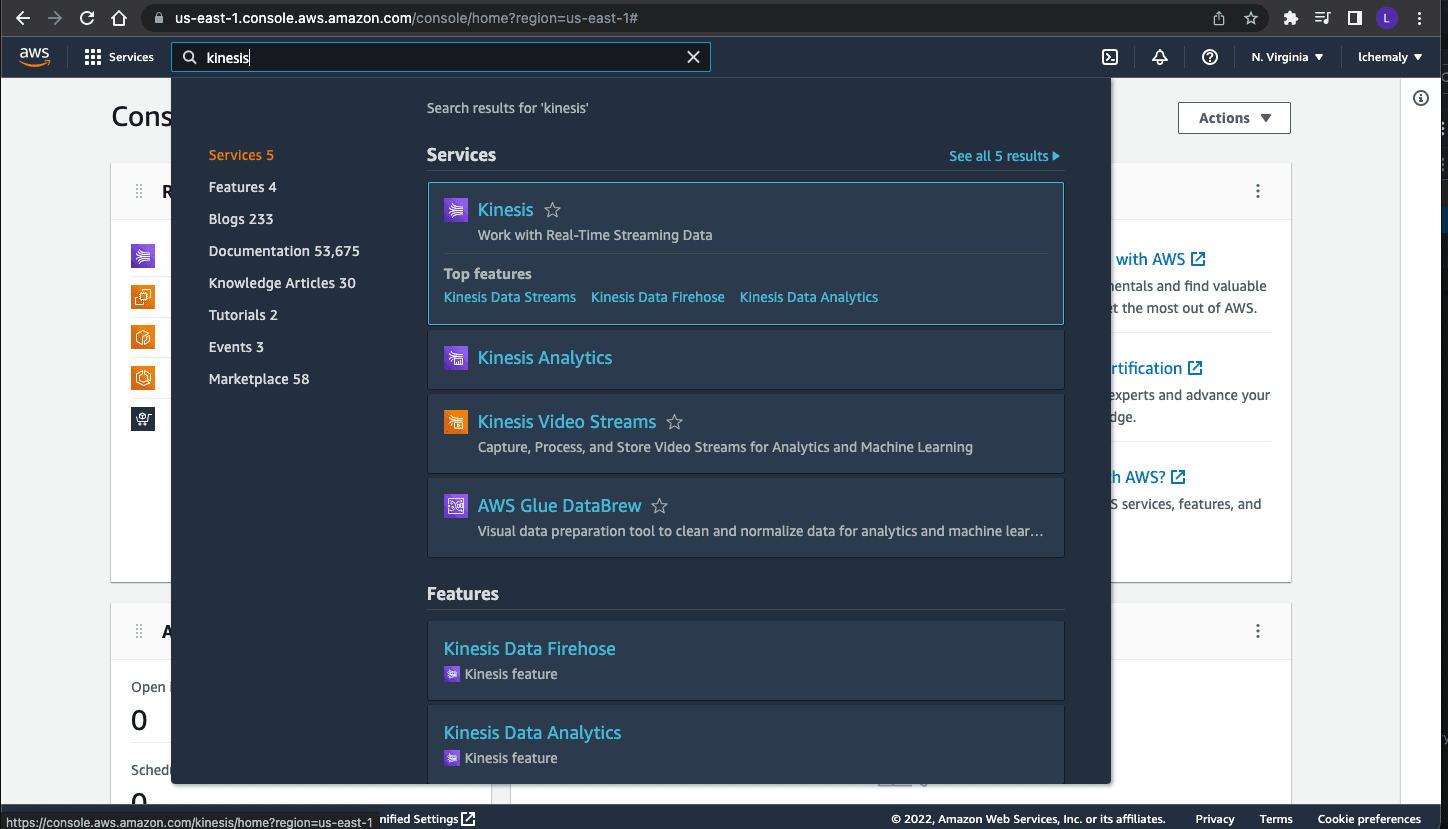
Create an AWS account or sign in to your existing account. Then, in your AWS account console, find Kinesis by entering the name in the search bar:
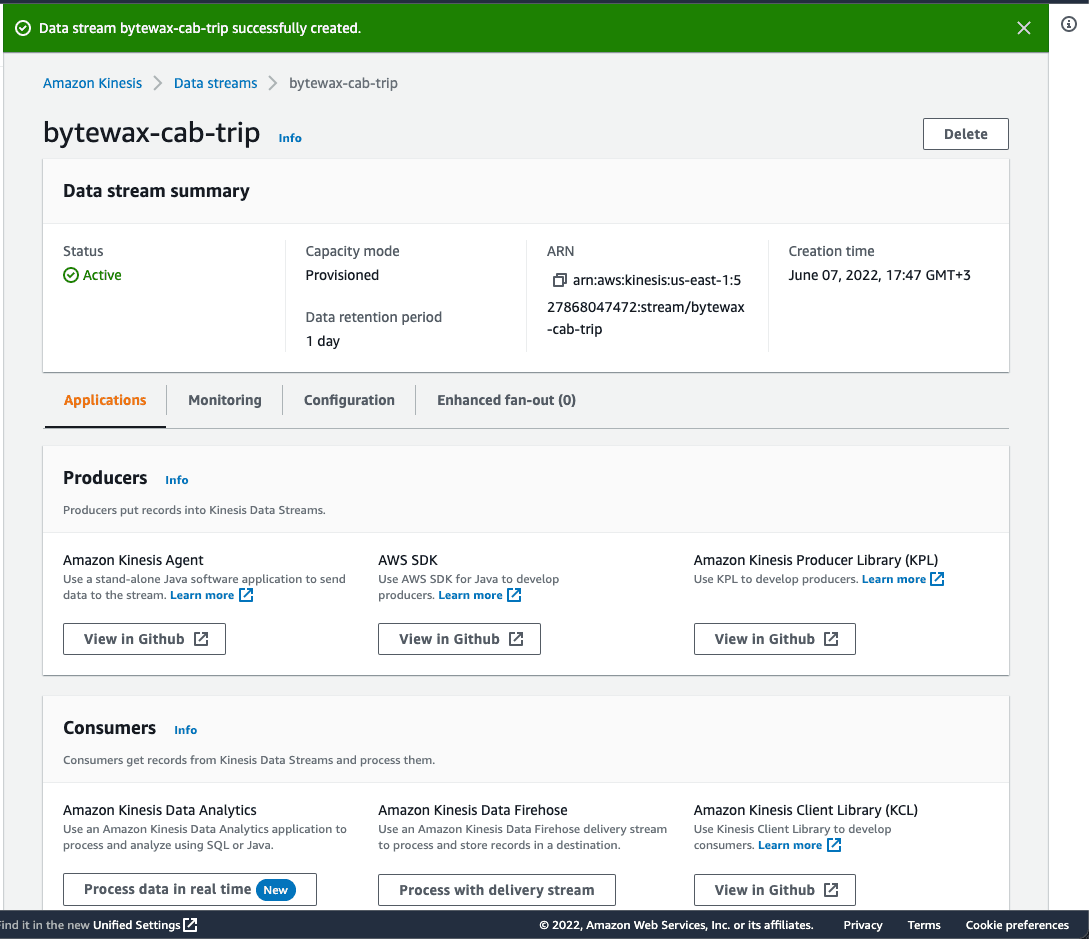
Click Create data stream, then specify the stream name as bytewax-cab-trip and enter 3 shards:
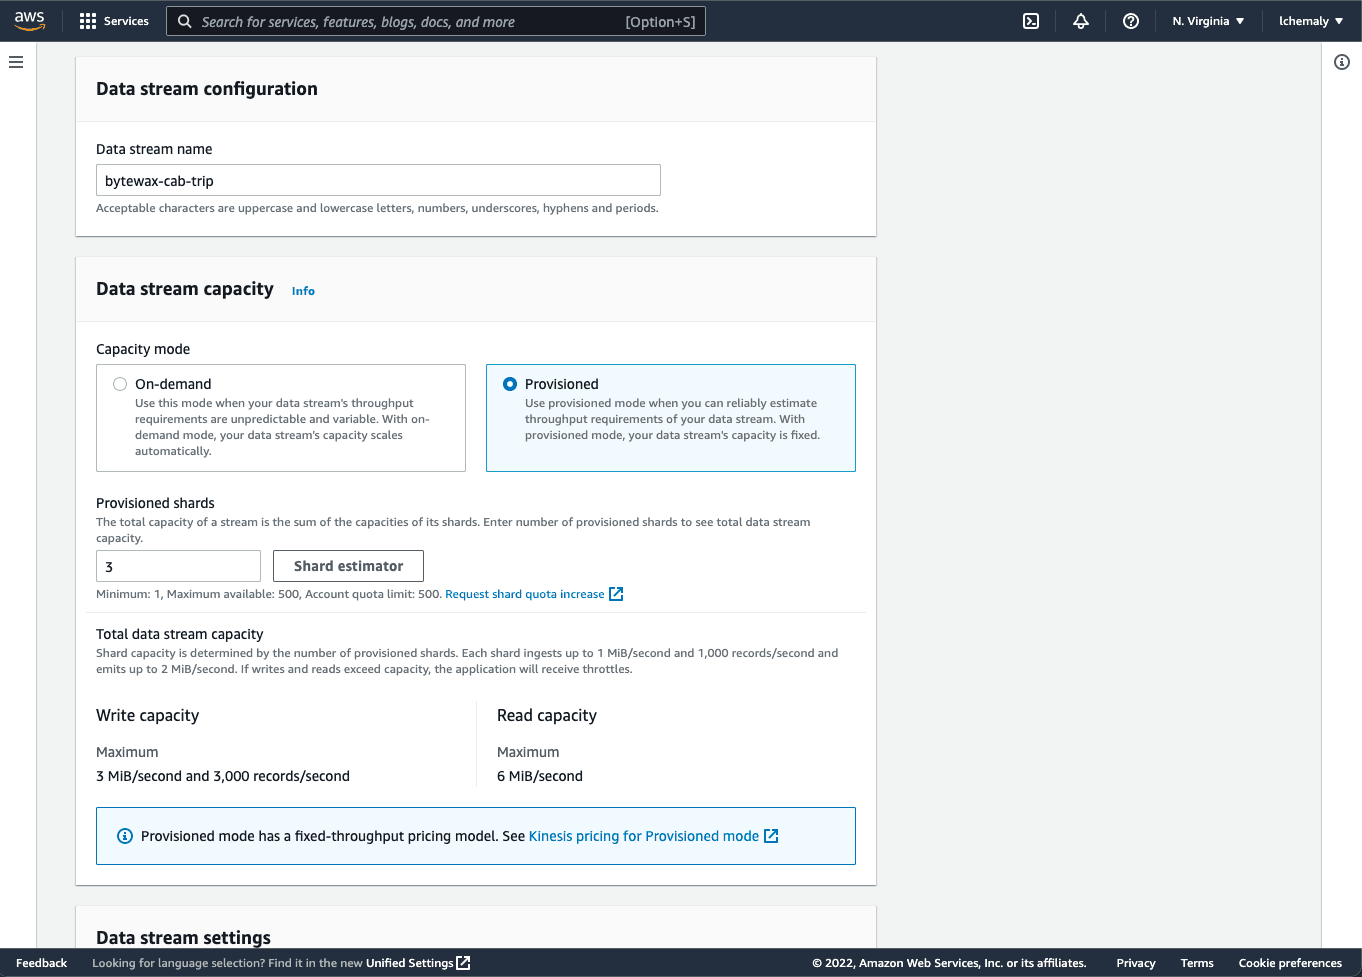
The shards indicate how many services are running in parallel to receive data; the larger the amount of data, the more shards you need to speed up the implementation.
You can modify these options later if needed. After saving, the creation process should take a few minutes. Your data stream should then be in active status:
Pushing Data to the Stream
Now that you’ve created your data stream, you need to push data into it using Python scripts.
Open your terminal and clone this GitHub repository to your local machine:
git clone https://github.com/ev2900/Flink_Kinesis_Data_Analytics.gitYou’ll be using sample data from data/yellow_tripdata_2020-01.csv. This CSV file contains trip data about yellow cab movement in New York City.
To produce the yellow cab data to your Kinesis stream, navigate to the kinesis_data_producer folder and open the NycTaxi_Producer_Desktop_JSON.py file with your preferred Python IDE, such as Python IDLE or Visual Studio Code. Then, change the stream name from yellow-cab-trip to bytewax-cab-trip.
Setting Up Permissions
To run the script and send the data to Kinesis, you need to give permissions to your file to send streams to AWS.
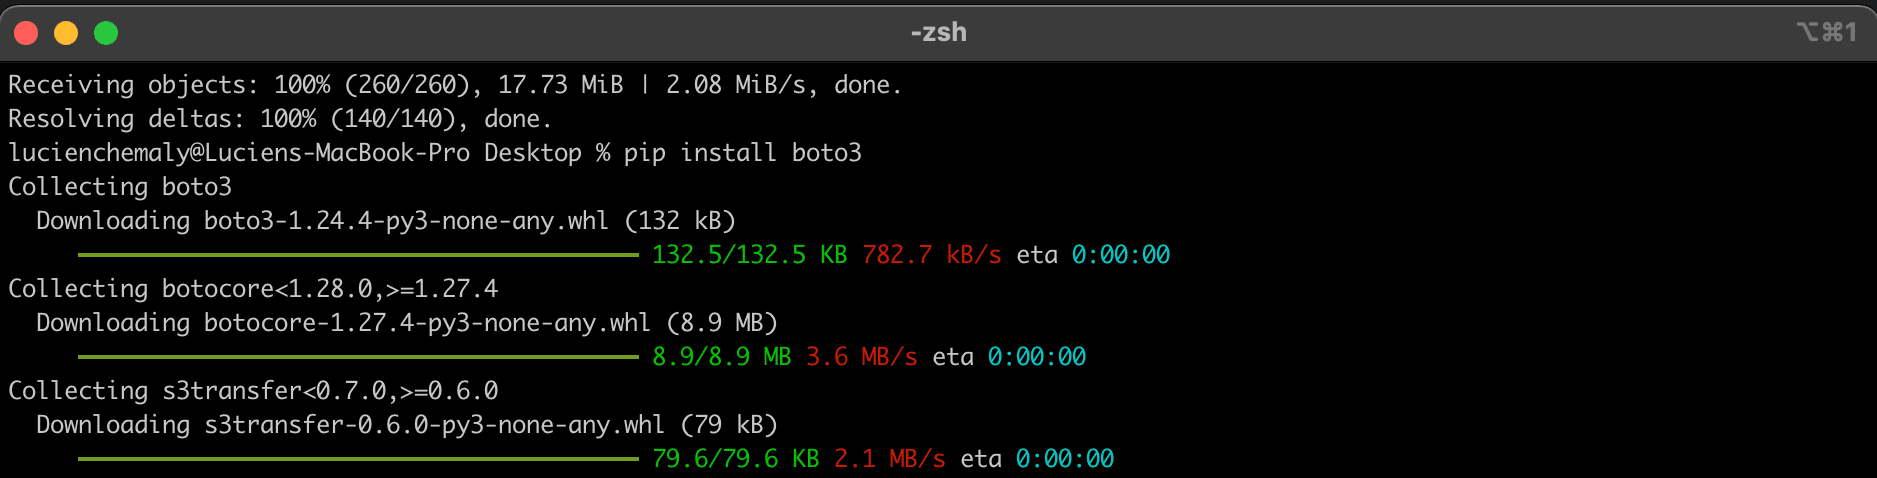
Run pip install boto3 on your terminal; boto3 is the AWS SDK for Python, and pip is the Python package installer:
Next, install the AWS CLI.
To push data by running your Python script from your local machine, you’ll create a new user and give them administrative access (for simplicity) for your data stream.
Find IAM on the AWS console by entering it in your search bar:

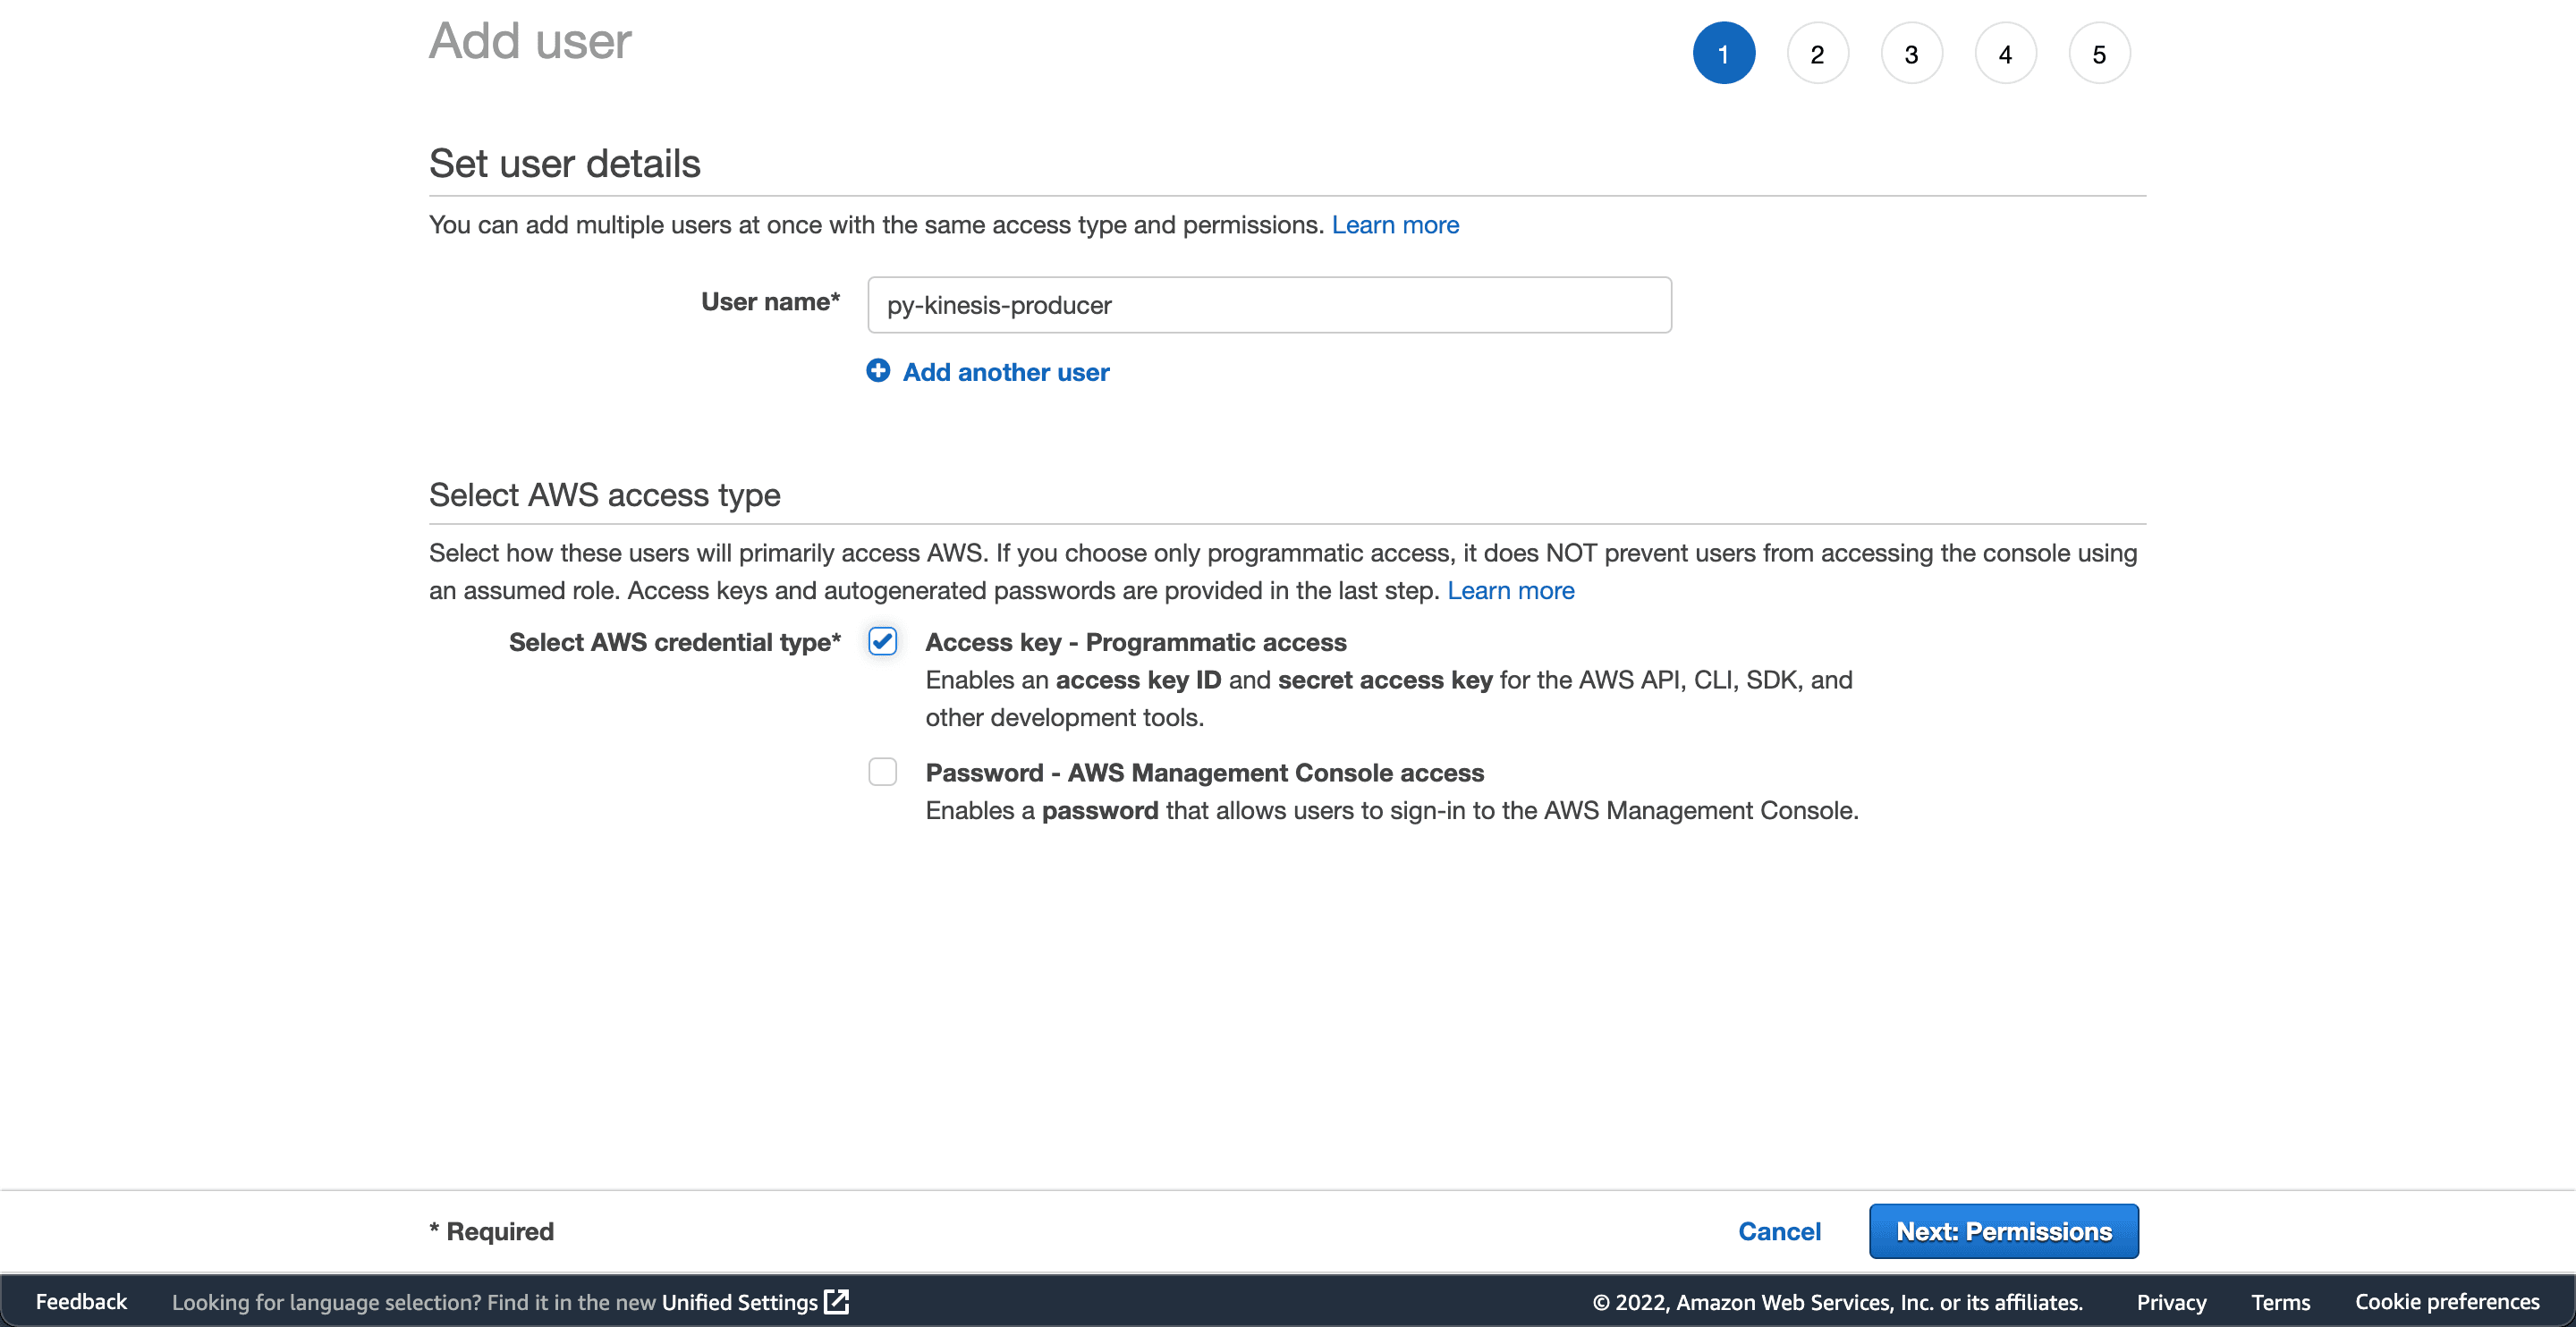
Click Users, then Add user, and name the user py-kinesis-producer:
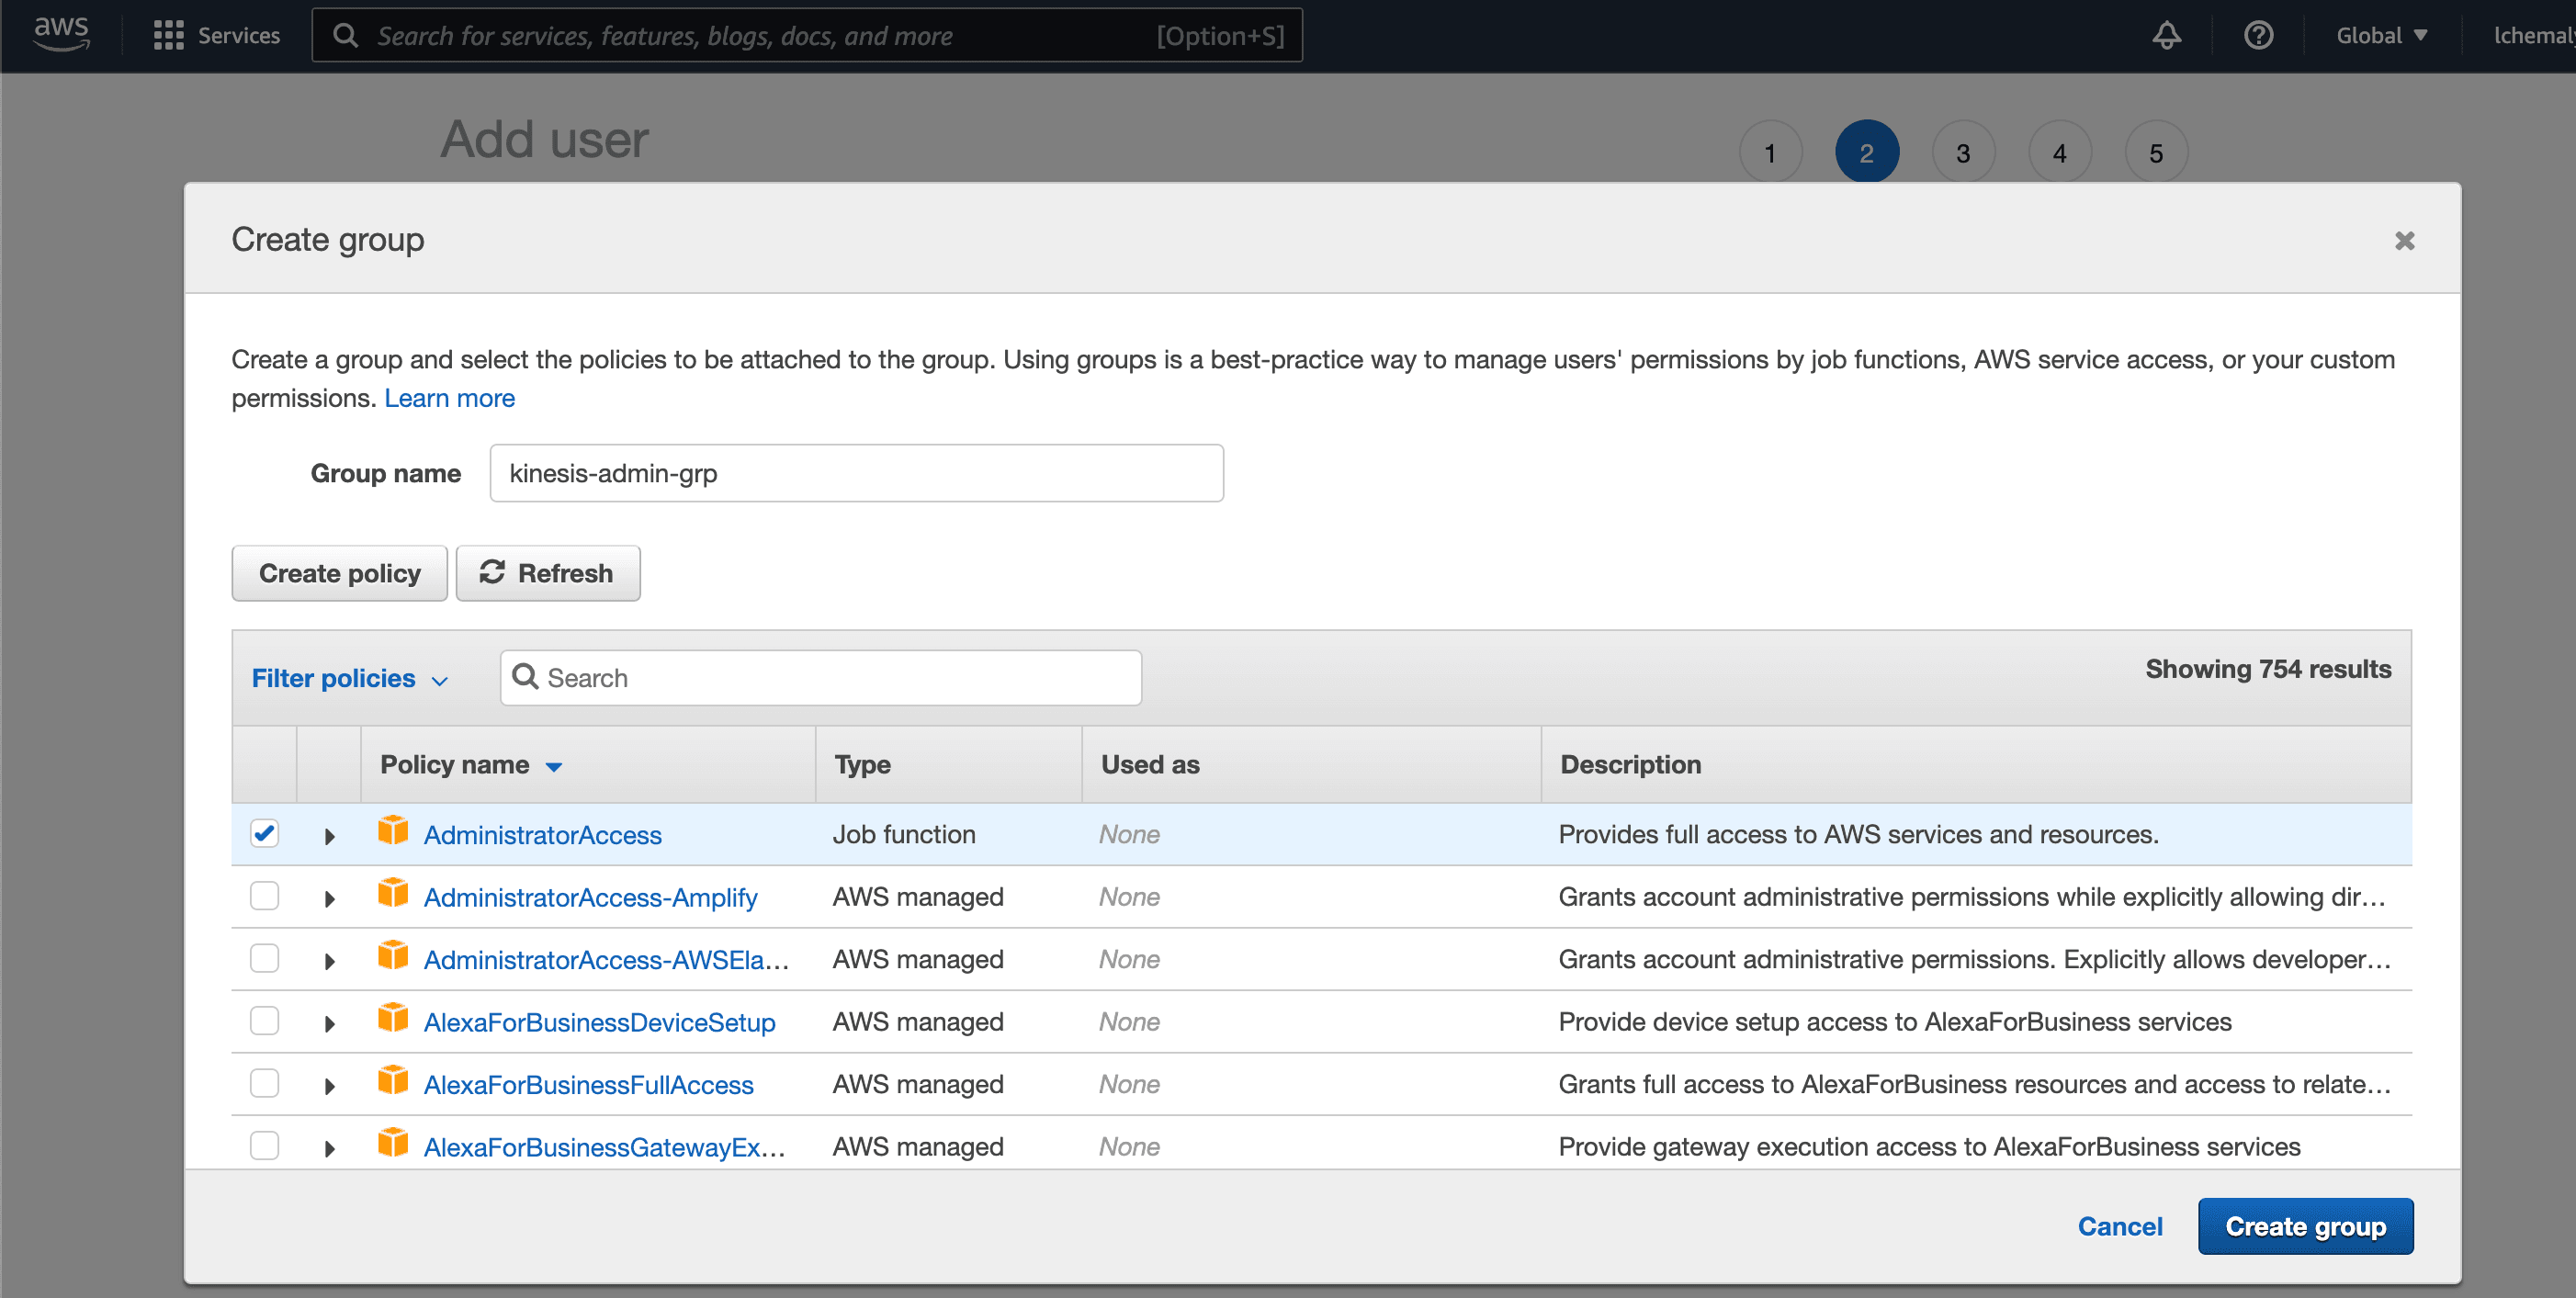
Next, add permissions for the user by clicking Create group and giving it admin access:
Now, you should see the created user with the access key and secret. Take note of these keys because you need them to authenticate on the AWS CLI.
Open your command line and log in to AWS with the user you created by running aws configure. Enter the key and the secret, set your region, and set the format to JSON:

Ensure that you enter the correct region, otherwise your client will not be able to find the Kinesis data stream resource that you created.
Finally, open the NycTaxi_Producer_Desktop_JSON.py file with your Python IDE and run it to send the data to your Kinesis data stream:
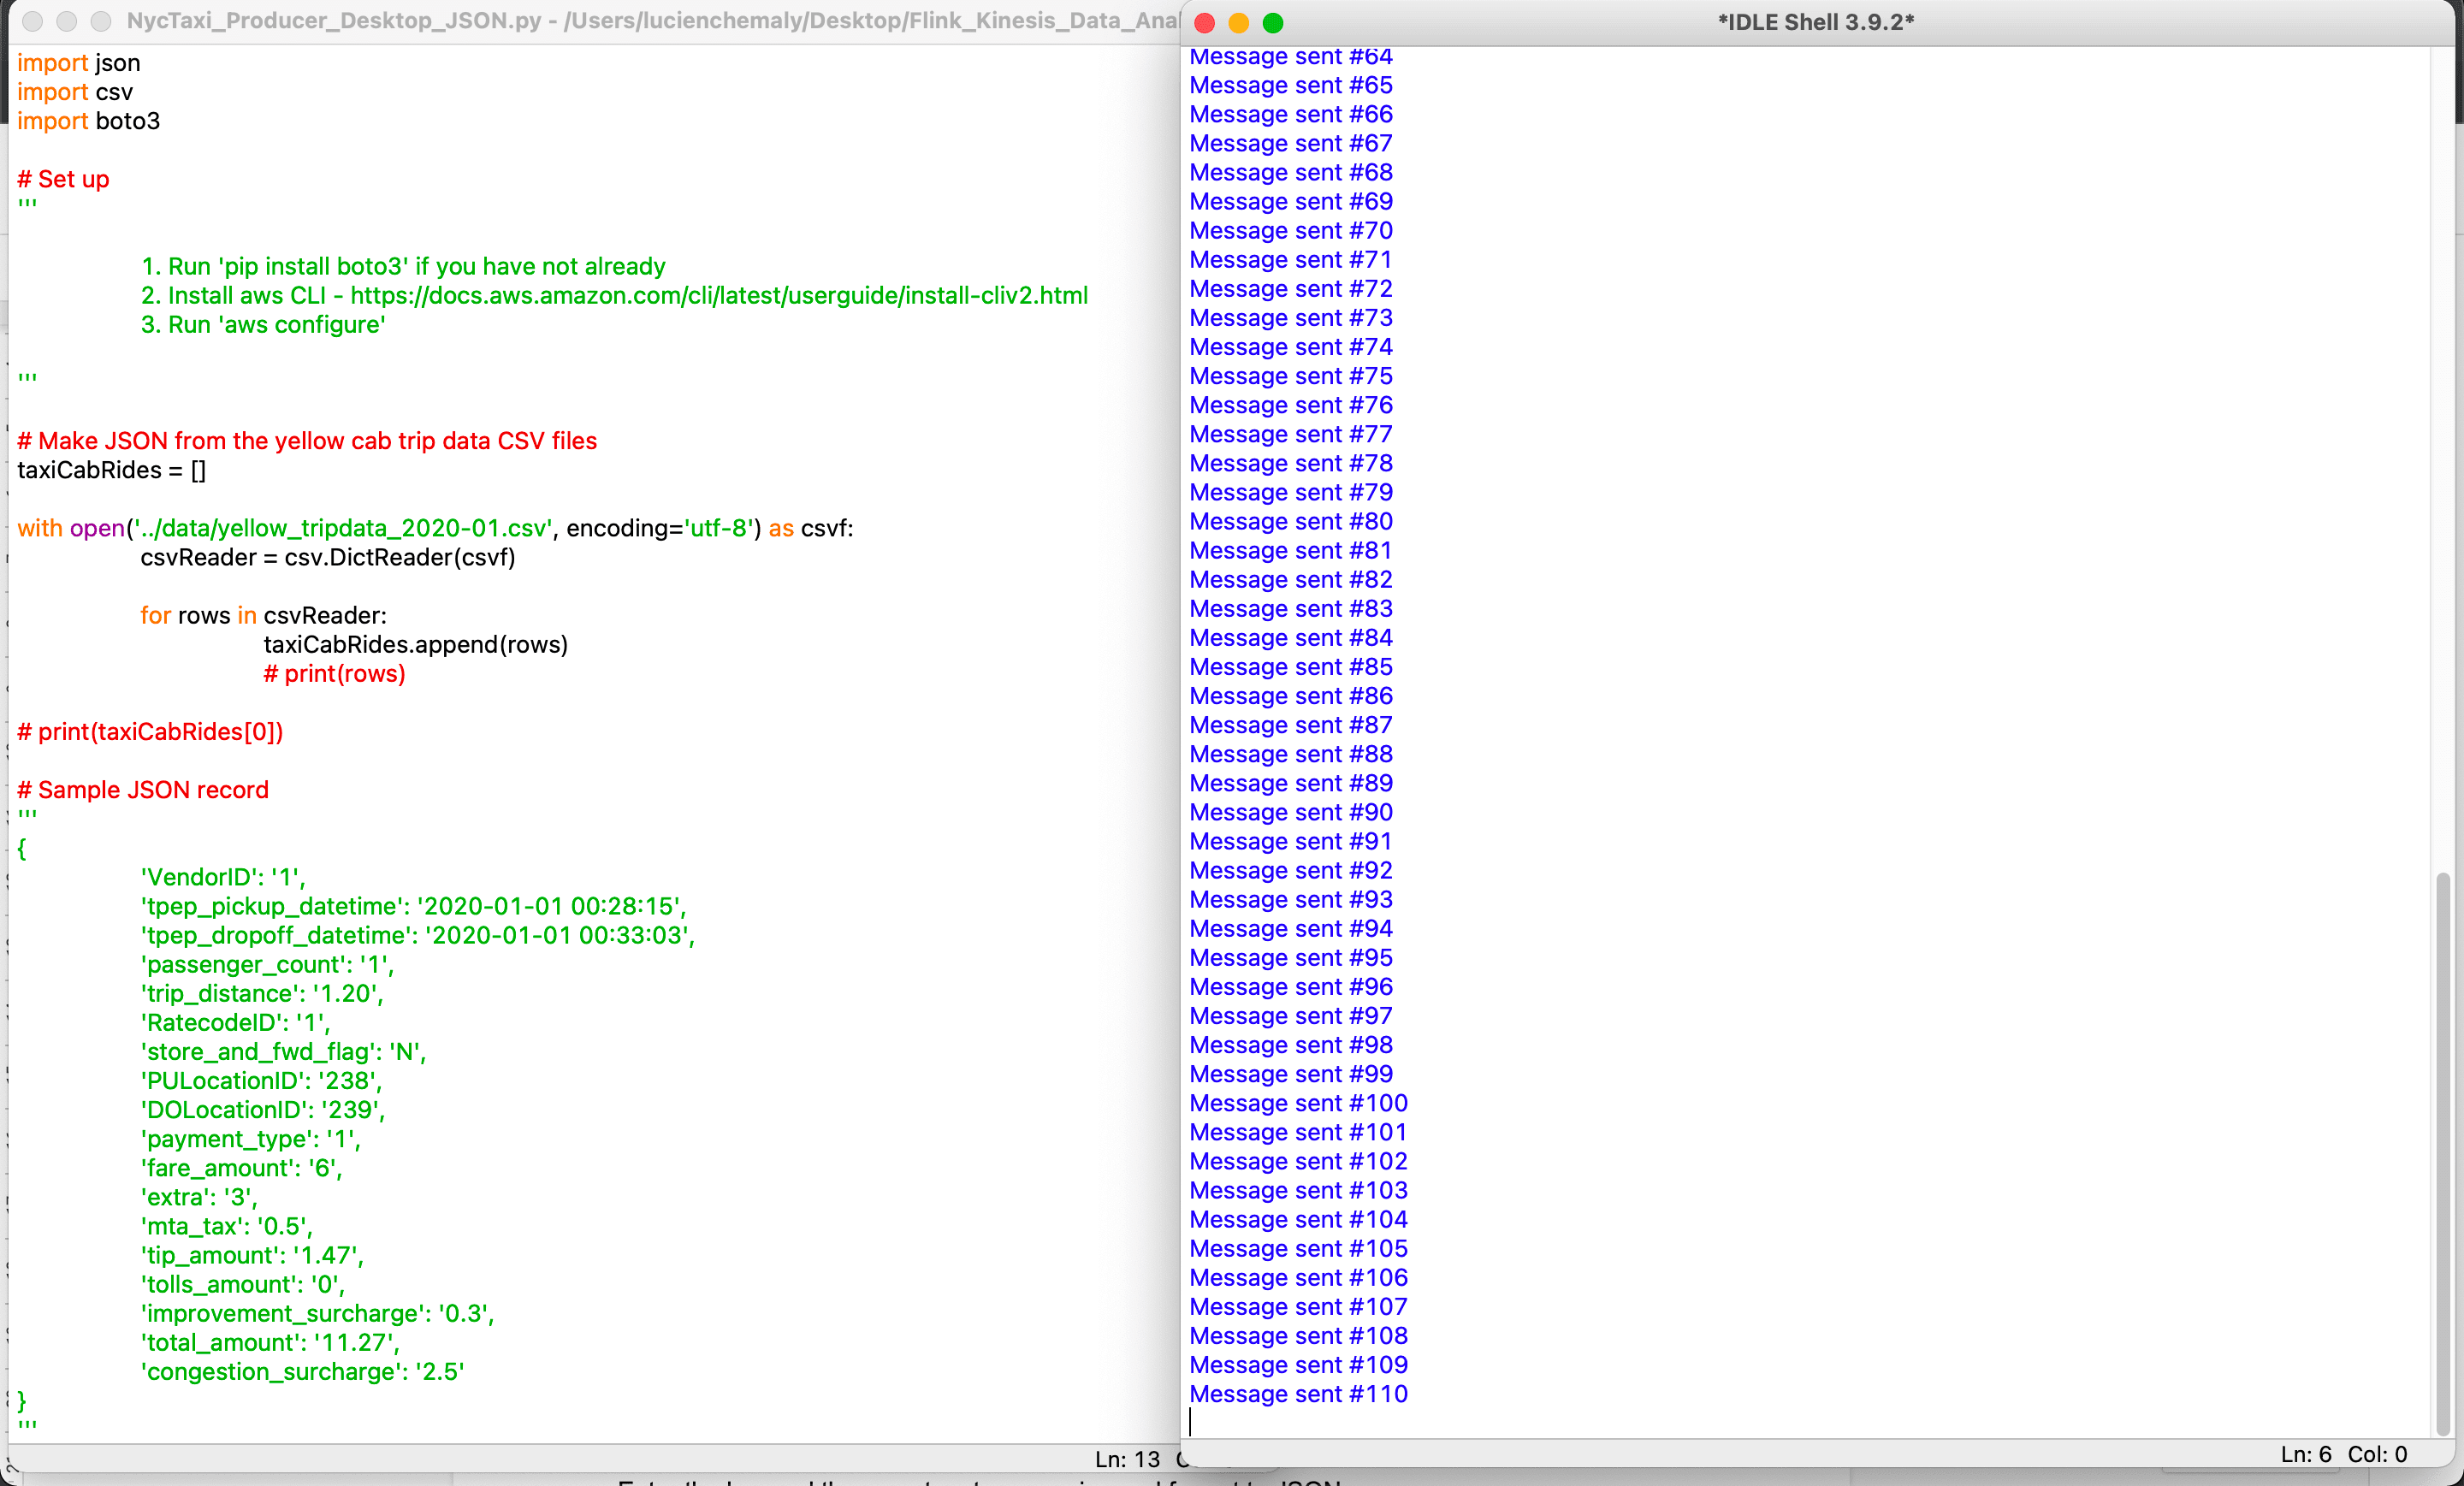
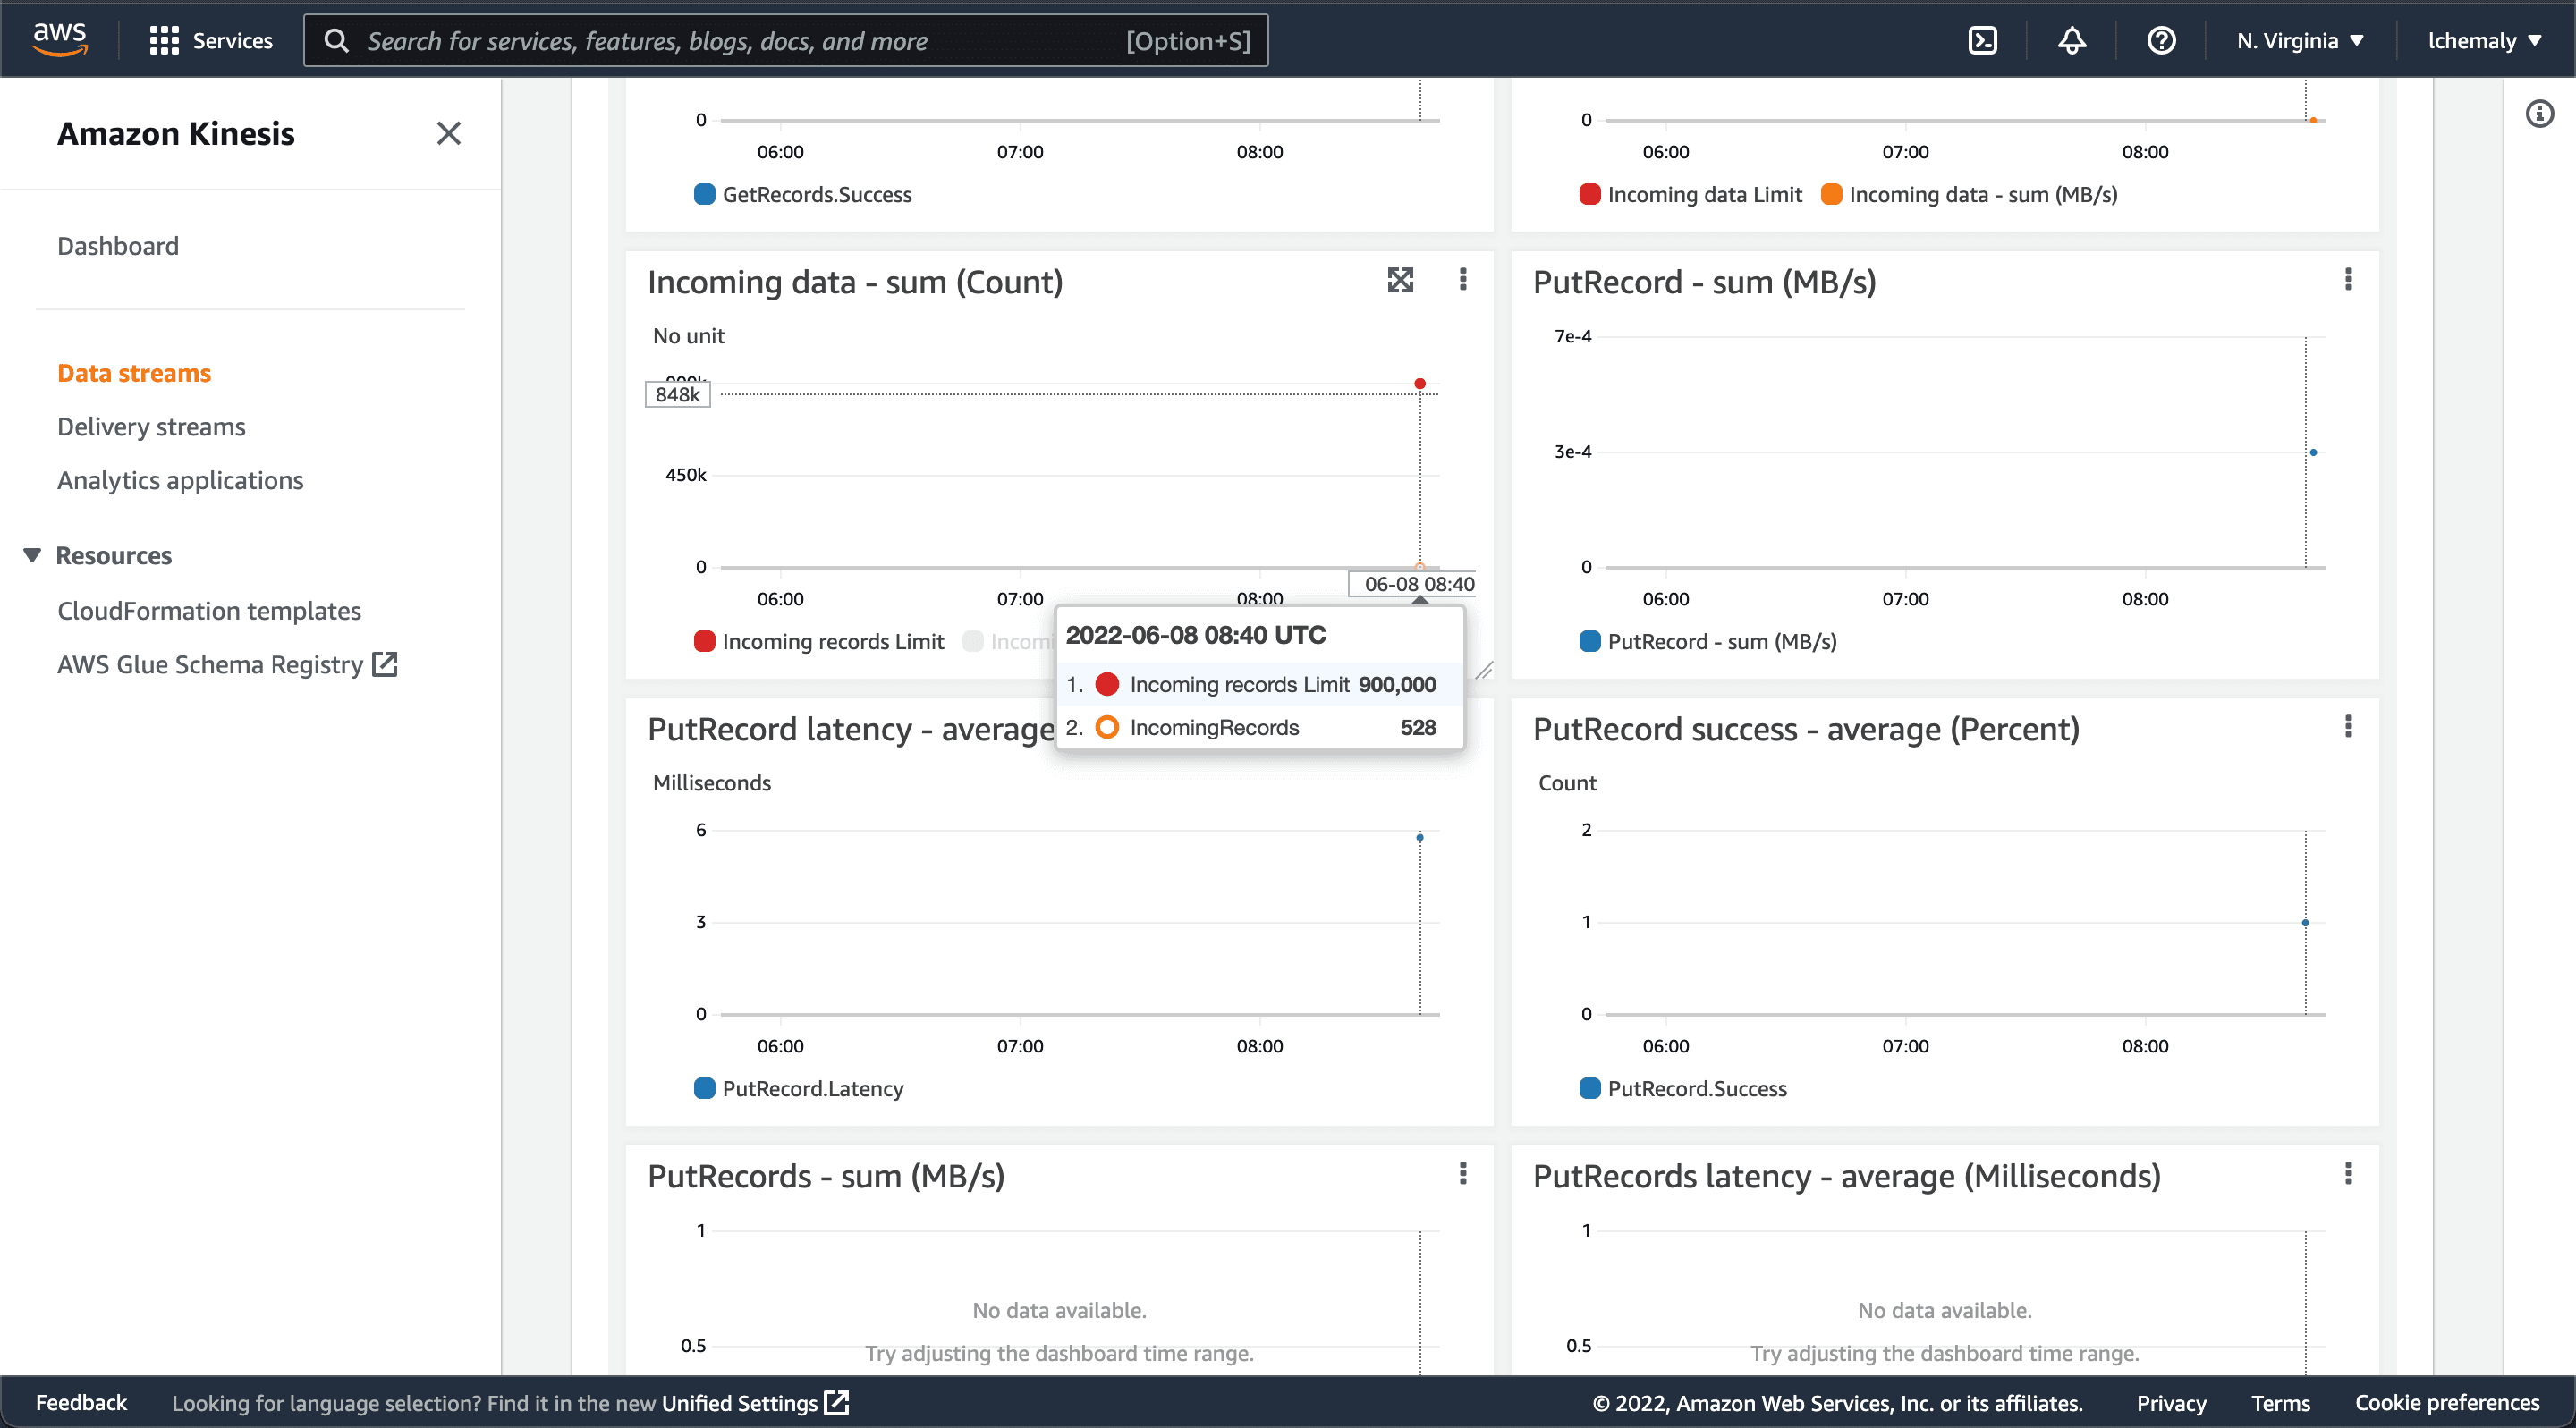
Now that the data is being sent to your Kinesis data stream, you can check that the data is coming in under Monitoring on the Kinesis dashboard. Note that it will take a few minutes to show.
Ingesting Data Stream from Kinesis
Now that you’ve populated data into your data stream, you need to process this data using the Bytewax library. You’ll use the boto3 library to connect to the AWS Kinesis stream to retrieve data, then process it with Bytewax. In addition, you’ll create a Bytewax Docker image to deploy on AWS that contains python code to ingest data from Kinesis.
Create a folder named kinesis-bytewax, then under it create three empty files : the dockerfile to build your image, the app.py python script that will contain the code, and the “endtrypoint.sh” bash script that you will use to run the app.py script in the Bytewax image.
The entrypoint.sh is a bash file that will be used to run the python script and keep the container process running.
#!/bin/sh

/venv/bin/python /bytewax/app.py

echo 'Process ended.'

if [ true ]
then
    echo 'Keeping container alive...';
    while :; do sleep 1; done
fi
The Dockerfile is pretty straightforward for a Bytewax dataflow application:
# syntax=docker/dockerfile:1

FROM bytewax/bytewax:0.9.0-python3.8

WORKDIR /bytewax

RUN /venv/bin/pip install boto3

COPY . .

RUN ["chmod", "+x", "./entrypoint.sh"]
In the code above, # syntax=docker/dockerfile:1 is a directive that instructs the Docker builder what syntax to use when parsing the Dockerfile. You start by building from the Bytewax image, the code then specifies /bytewax as the working directory for your image. You then install the python boto3 package and add the source code into the image. Lastly, you run the bash script “entrypoint.sh”, which runs the python script and keeps the container process running.
Next, you’ll write a python script that ingests data by reading the Kinesis data stream and processes the data using the Bytewax library. Open app.py and puth the following code:
import boto3
import re
import ast
from bytewax import Dataflow, run
#------------------
# Bytewax
#------------------
def records_input(listOfAllRecords):
    for item in listOfAllRecords:
        yield 1, item

def is_greaterThan(item):
     return float(item["total_amount"]) > 20

def is_moreThanTwoPassenger(item):
    return float(item["passenger_count"]) > 1

#Data pipeline flow
flow = Dataflow()
#filter trips greater than 20$
flow.filter(is_greaterThan)
#filter trips that has more than 2 passengers
flow.filter(is_moreThanTwoPassenger)
flow.capture()

#------------------
# Reading Data from Kinesis then processing data through the Bytewax dataflow
#
#------------------
stream_name = 'bytewax-cab-trip'
try:
    kinesis_client =  boto3.client('kinesis',
                                                        aws_access_key_id="YOUR ACCESS KEY",
                                                        aws_secret_access_key="YOU SECRET KEY",
                                                        region_name='us-east-1')
    #------------------
    # Get the shard ID.
    # In your example you defined 3 shards on aws kinesis
    #------------------
    response = kinesis_client.describe_stream(StreamName=stream_name)
    #only using 1 shard, you can improve the code to use 3 shards or more, by iterating over the response[StreamDescription][Shards] you get the available shards
    shard_id = response['StreamDescription']['Shards'][0]['ShardId']

    #---------------------------------------------------------------------------------------------
    # Get the shard iterator.
    # ShardIteratorType=AT_SEQUENCE_NUMBER|AFTER_SEQUENCE_NUMBER|TRIM_HORIZON|LATEST|AT_TIMESTAMP
    #---------------------------------------------------------------------------------------------
    response = kinesis_client.get_shard_iterator(
        StreamName=stream_name,
        ShardId=shard_id,
        ShardIteratorType='TRIM_HORIZON'
    )
    shard_iterator = response['ShardIterator']

    #-----------------------------------------------------------------
    # Get the records.
    # Run continuously
    #-----------------------------------------------------------------
    record_count = 0
    numberOfProcessedItems=0
    while True:
        listOfBatchRecords=[]
        response = kinesis_client.get_records(
            ShardIterator=shard_iterator,
            Limit=100
        )
        shard_iterator = response['NextShardIterator']
        records = response['Records']
        if len(records)>0:
            for item in records:
                newRecord= item["Data"].decode("utf8").replace("'", '"')
                dictLine=ast.literal_eval(newRecord)
                record_count+=1
                listOfBatchRecords.append(dictLine)
                print(record_count)
        for epoch, item in run(flow, records_input(listOfBatchRecords)):
            numberOfProcessedItems+=1
            print(item, numberOfProcessedItems)
except Exception as e:
    raise
In the code above, records_input() returns the records of the cab trip data to be processed by the Bytewax dataflow. flow = Dataflow() initiates the Bytewax dataflow, which the code filters to trips with a total cost greater than $20 and more than two passengers. flow.capture() then marks the output as the dataflow’s final output.
kinesis_client then creates the Kinesis client to fetch data from your data stream, and the code determines how many shards you can use to retrieve data. kinesis_client.get_shard_iterator then specifies which shard you want to use. In your data stream, you created three shards, but for simplicity here you will use only one shard. Finally, kinesis_client.get_records uses the shard iterator to retrieve records in batches of 100."
The final part of the code (starting with if len(records)>0:) iterates over the batch of 100 records retrieved from the Kinesis data stream, then transforms the data from strings to dictionary objects using ast. Following this, it runs the batch in the Bytewax dataflow to be processed and filtered accordingly.
Running the Application on Docker
Now that you have everything set up, you can run your python code locally on the base of a Bytewax Docker image.
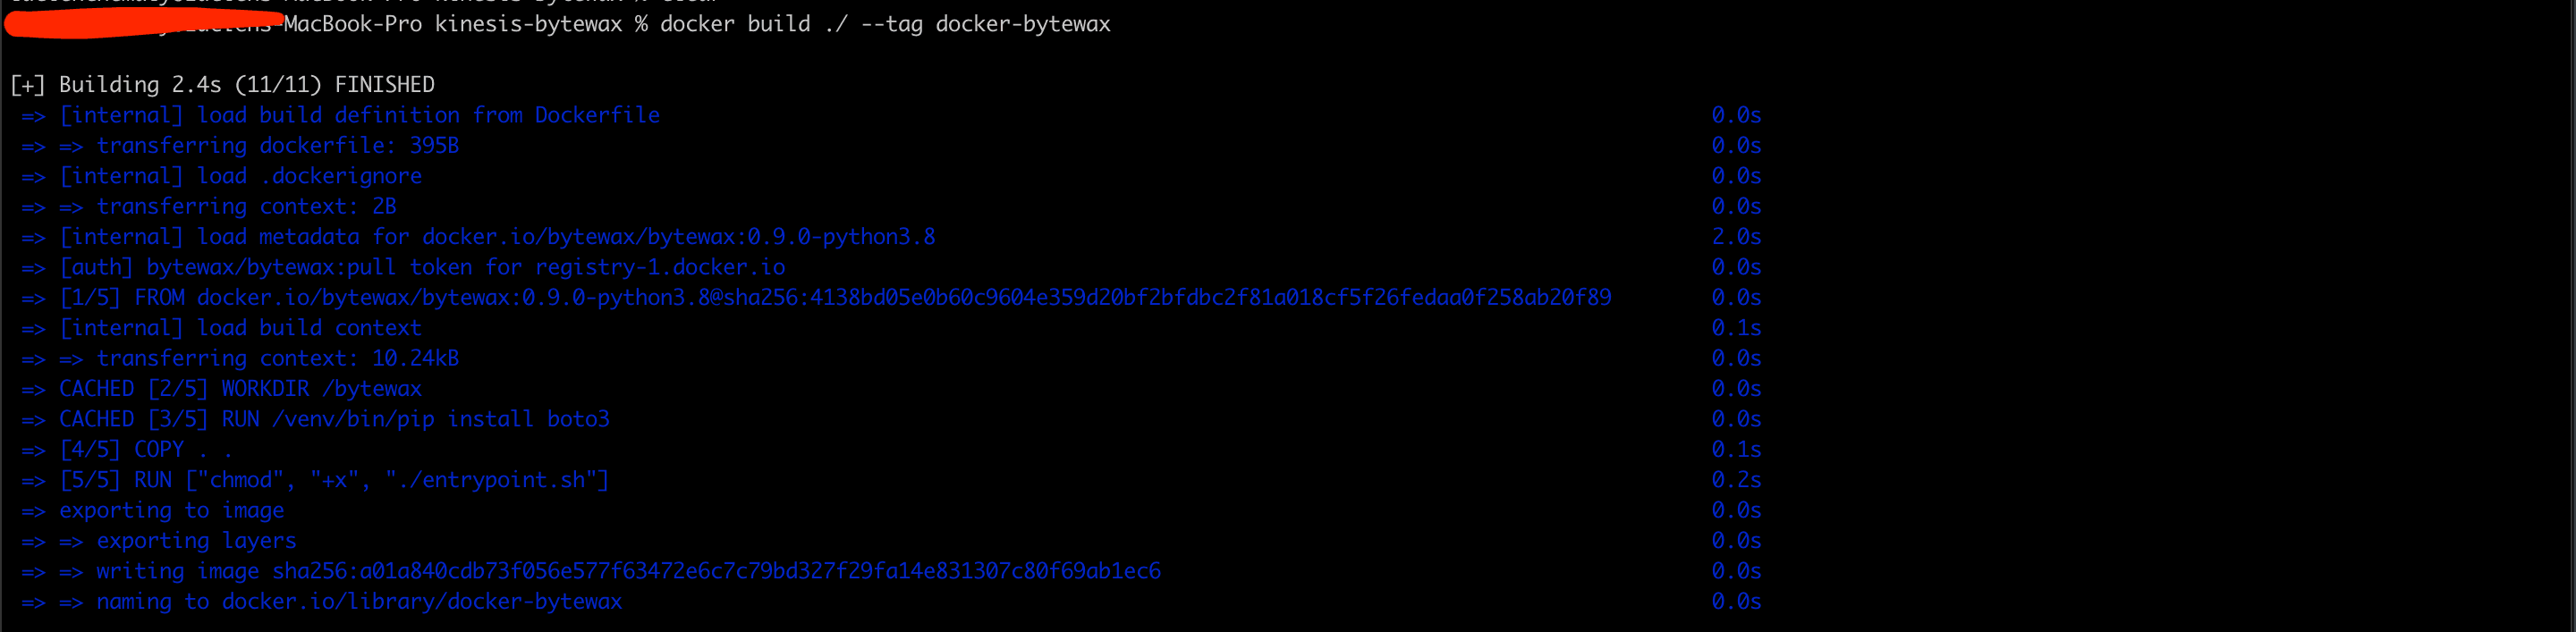
First, open your terminal and go to your project directory. Build the Docker image by running the following command:
docker build ./ --tag docker-bytewaxThe Docker image should look like this:
Next, run your Docker image on a container:
docker run -d docker-bytewaxThis command should produce something similar to the following:

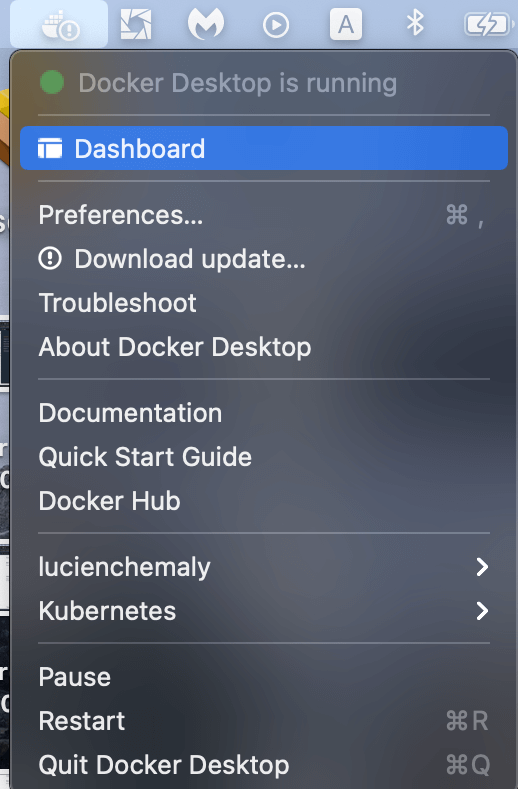
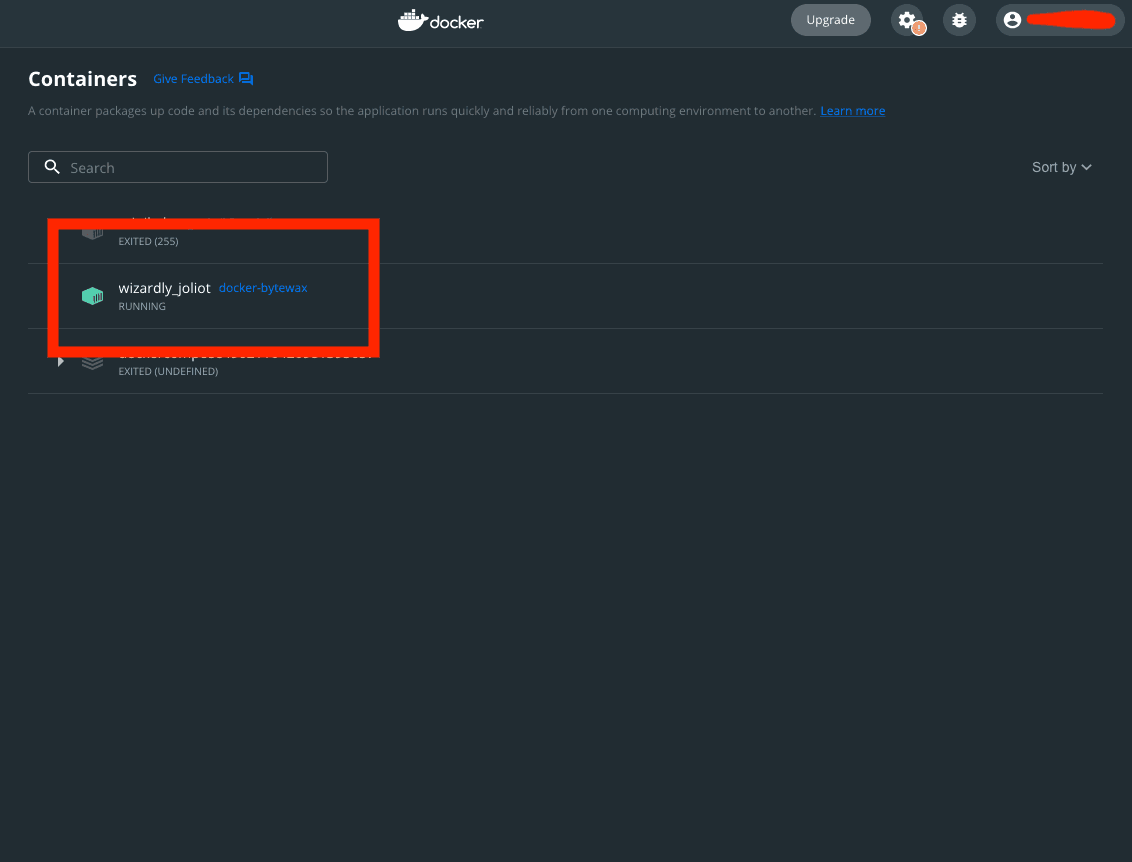
Open the Docker dashboard:
The dashboard should display your running container:
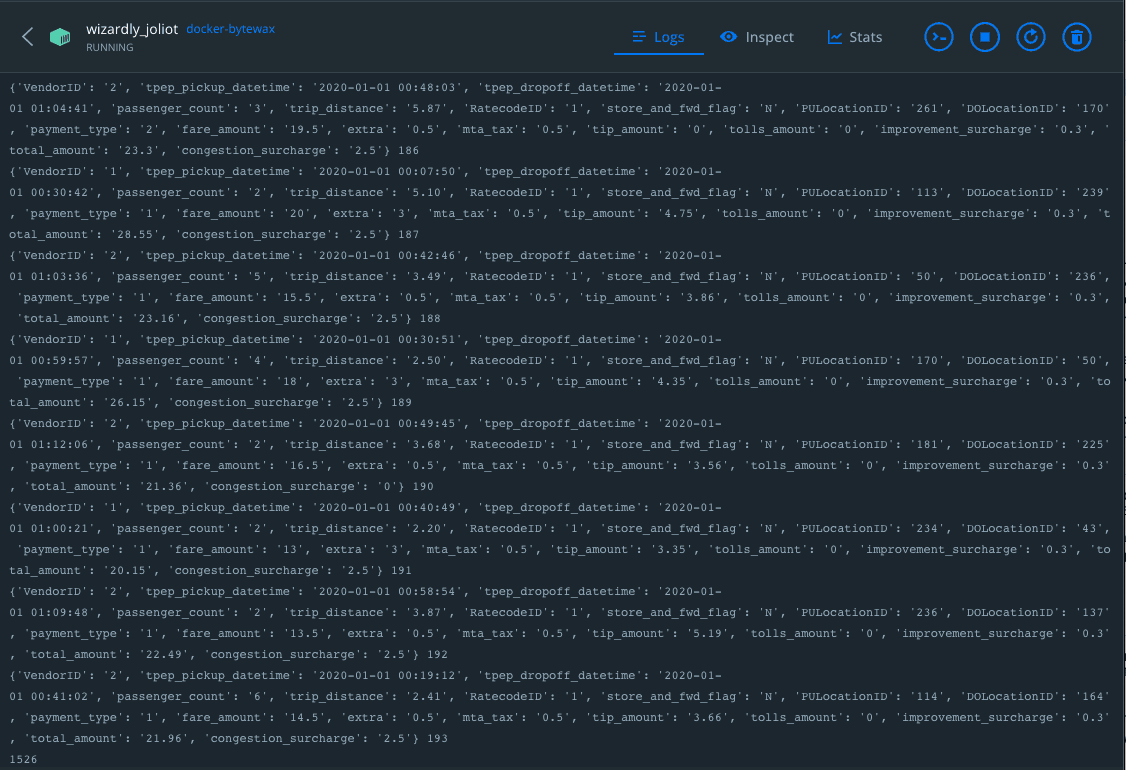
Click the container to view its logs. You should see the output of the data processed through the Bytewax output dataflow:
Deploying Your Docker Image
If you don’t already have a Docker Hub account, create a new one. Then, to push your image to Docker Hub, go to your terminal and log in with your Docker credentials using the following command:
docker login
docker tag docker-bytewax [docker hub account name]/docker-bytewax
docker push [docker hub account name]/docker-bytewax
Running the Image on AWS Lightsail
Now that you have your container ready on Docker Hub, you can create a container service on Amazon Lightsail.
Go to the AWS console and enter Lightsail in the search bar:
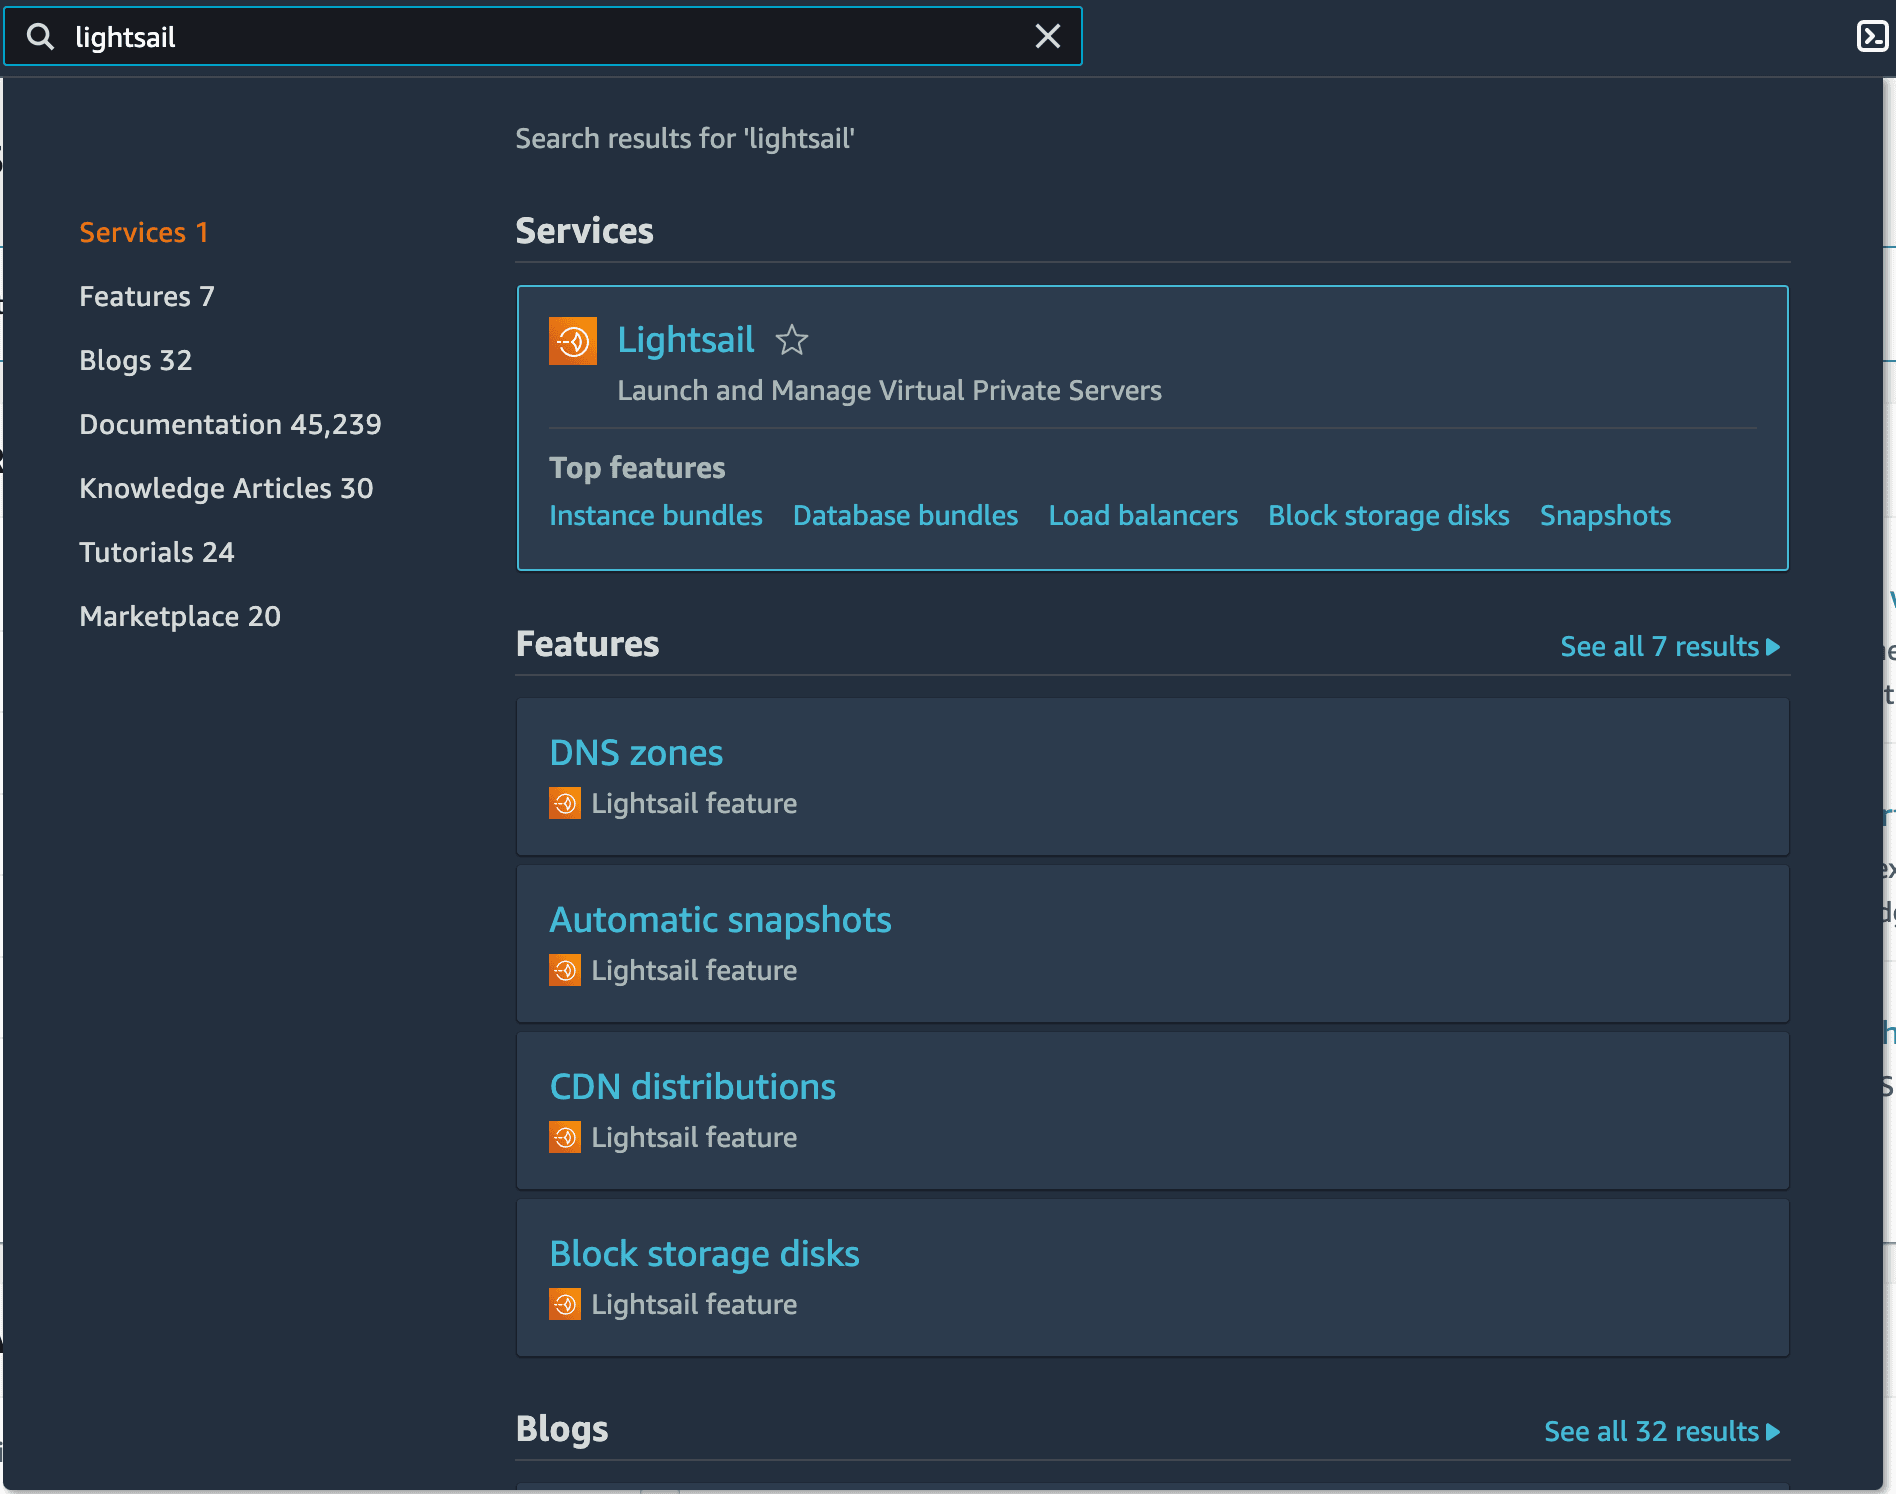
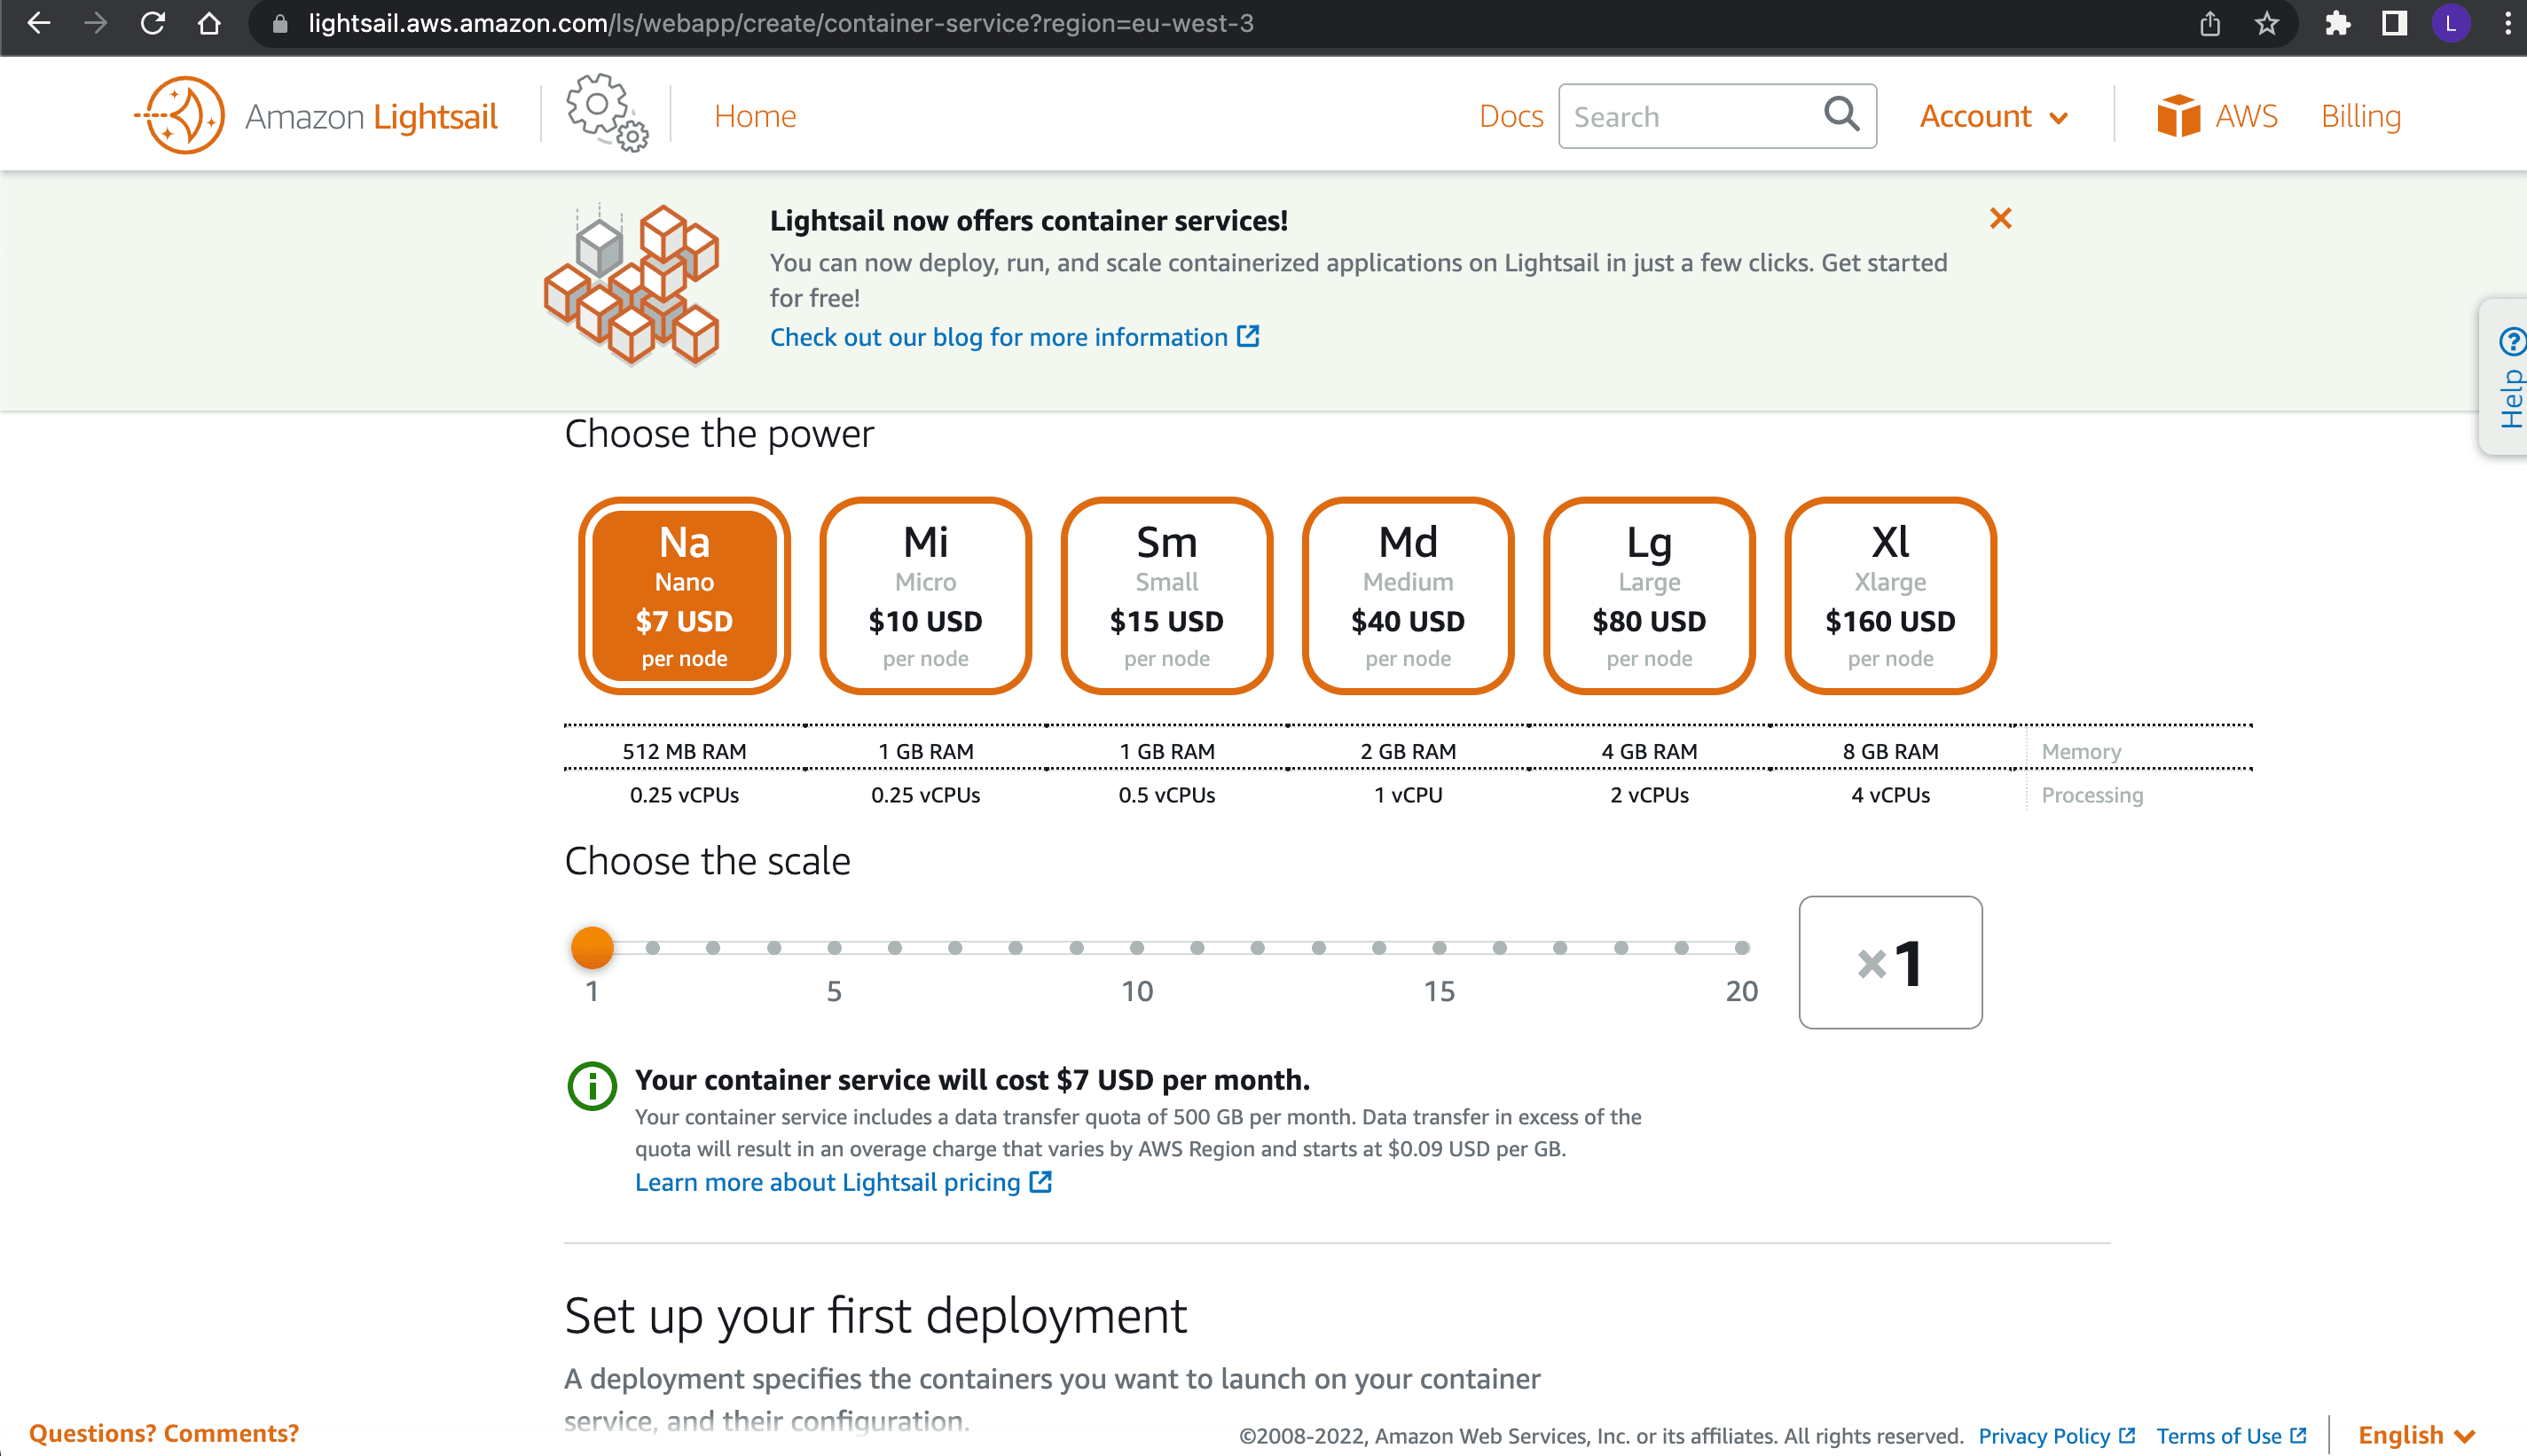
Follow the search result to the Lightsail portal, go to Containers, and click Create container service. For this tutorial, as it’s only for demo purposes, you should choose the Nano option with a scale of 1:
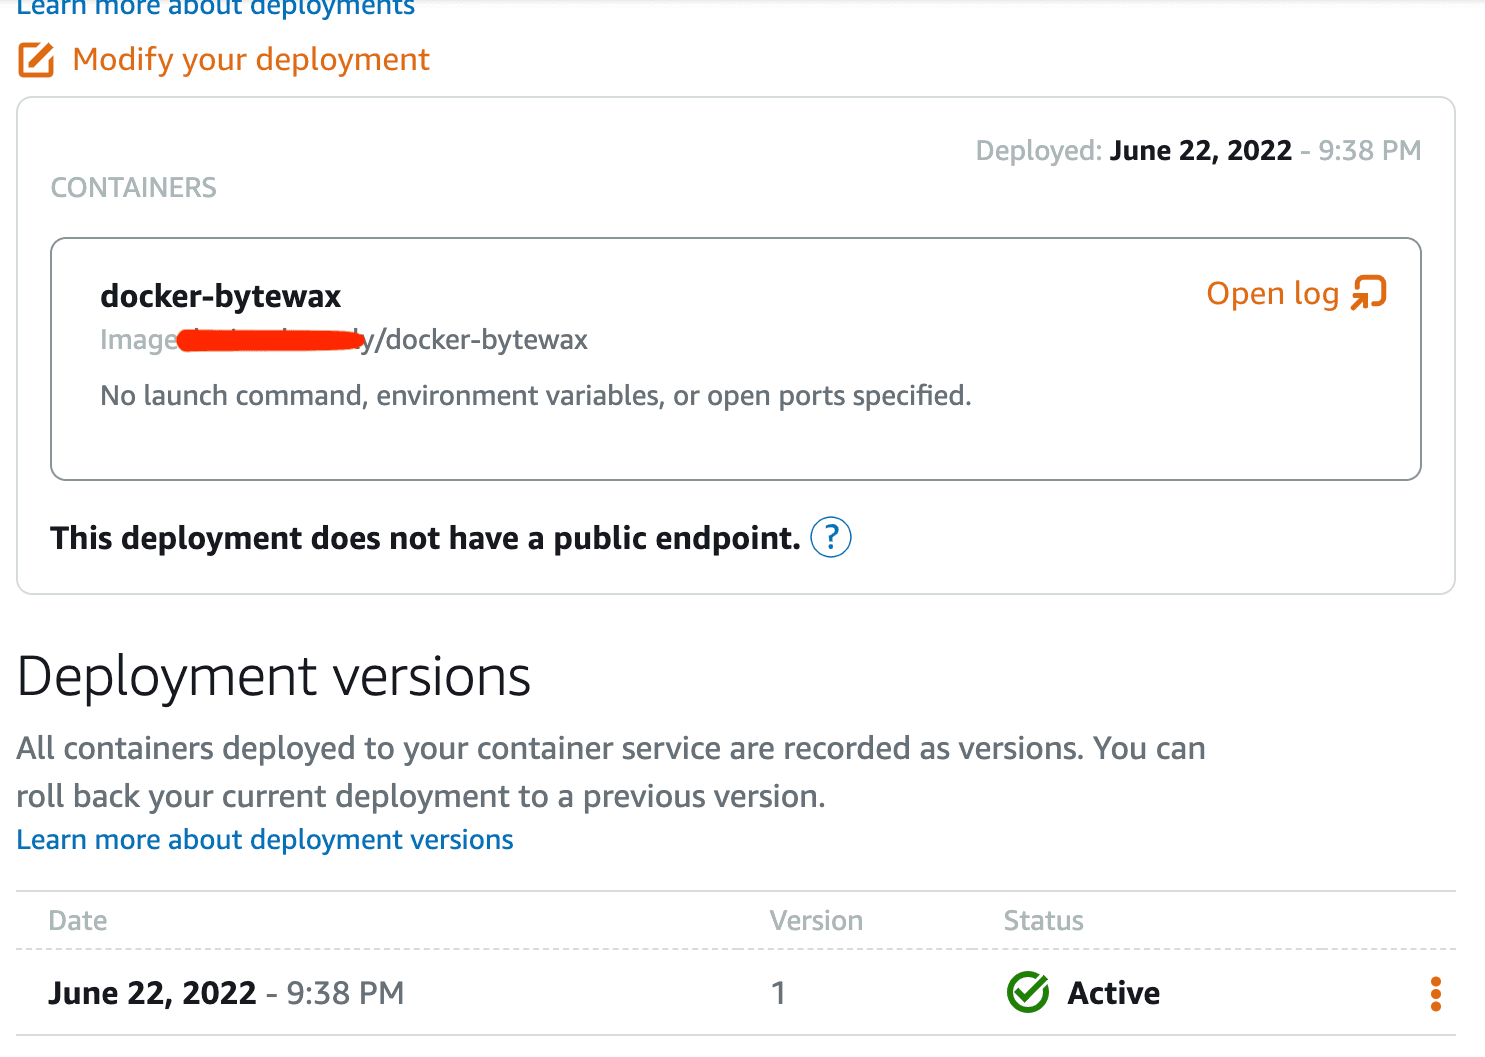
Name the service docker-bytewax, then click Create container service.
Once the service is created, click Create your first deployment. Fill in the container name as docker-bytewax and the image name from Docker Hub, which is in the format <docker hub account name>/<my container name>:tag, then click Save and deploy.
After a few minutes, you should see your service in running status with your deployment marked as active:
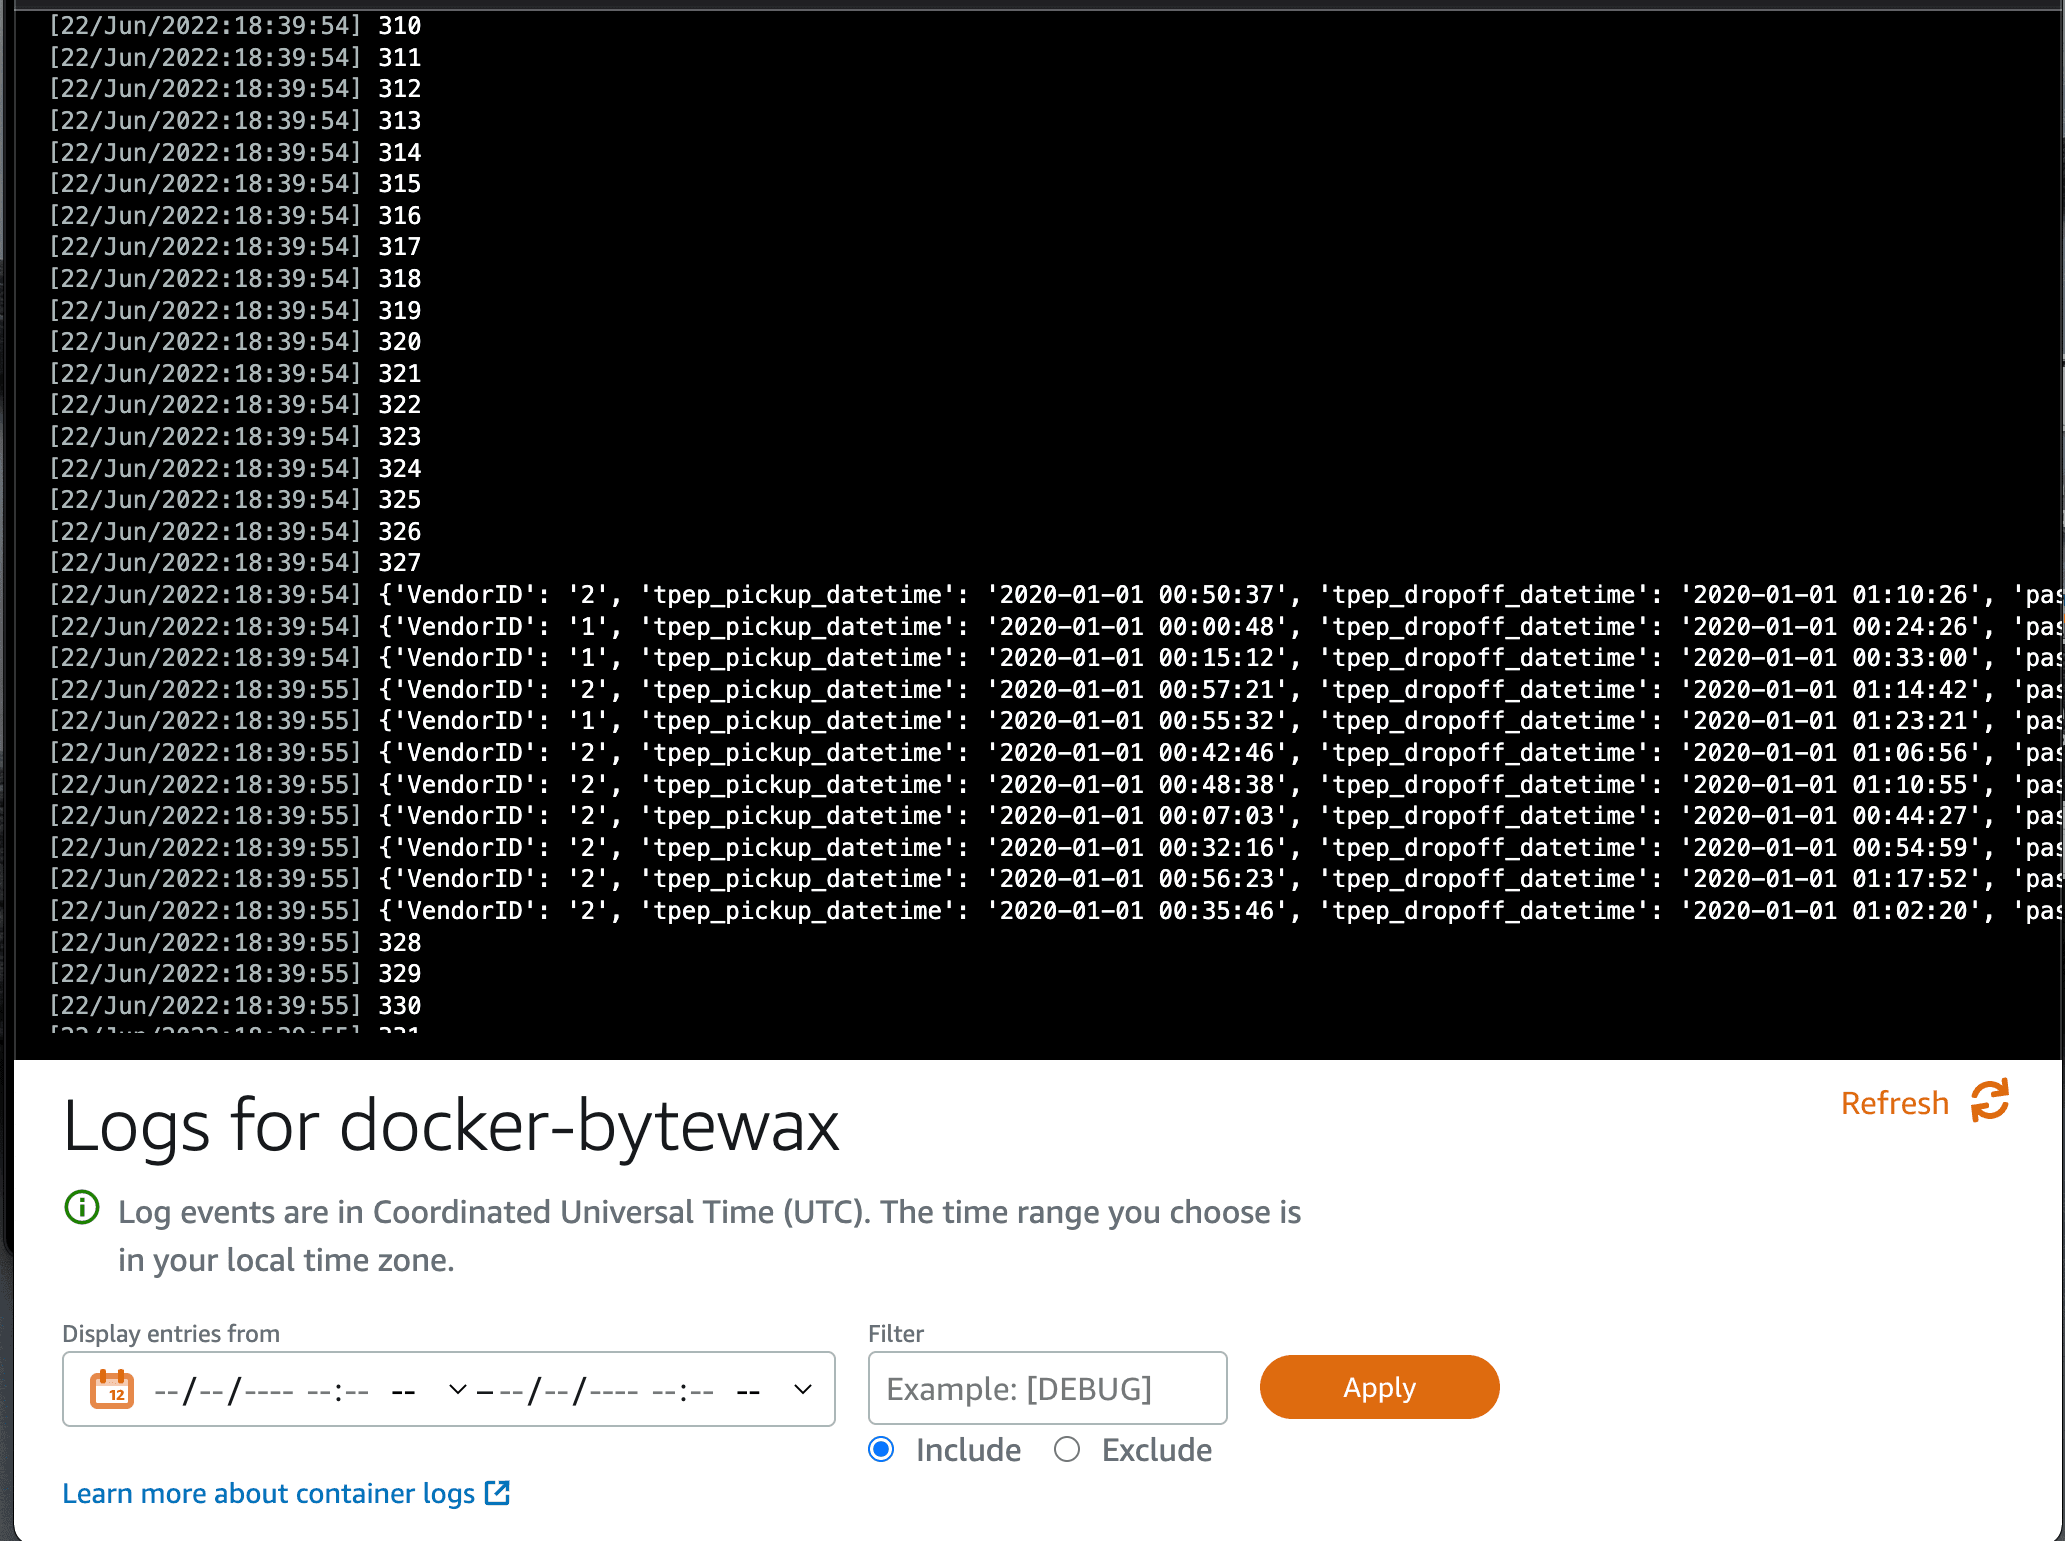
To check that everything is working as expected, open the container logs on your service. You should see the cab trip items being logged in the console. It should be similar to what you previously saw when you tested the container locally:
Conclusion
In this article, you learned how to populate data to a Kinesis data stream, then ingest the data using boto3 and Bytewax running in a Docker image deployed with Lightsail on AWS. Real-time data analytics is essential for businesses looking to analyze their operation or their user’s funnels in real time to know how campaigns are performing and what they need to adjust.
You also learned how you can use a data processing library to process incoming data from Kinesis Data Streams with a simple proof of concept. However, in real-life scenarios, you need to set listeners on data streams that will run asynchronously and the ingested data usually ends up in a data warehouse such as Redshift or BigQuery.
Bytewax is an open source Python framework for building scalable dataflows to process any data stream. Bytewax enables you to quickly and effectively build complex workflows with data streams.
If you are curious to discover more about what Bytewax can do, you can also learn how to use it to analyze crypto order books for fun or for profit with Bytewax.
Stay updated with our newsletter
Subscribe and never miss another blog post, announcement, or community event.

Lucien Chemaly
Technical WriterLucien is a community guest writer. <a href="https://www.linkedin.com/in/lucien-chemaly/">LinkedIn</a>