
Bytetalks ep3: Build Streaming Pipelines in Python with Bytewax
Bytewax Cheatsheet: Your go-to guide for mastering data flows and improving streaming analytics with Bytewax
Written by Zander Matheson & Laura Funderburk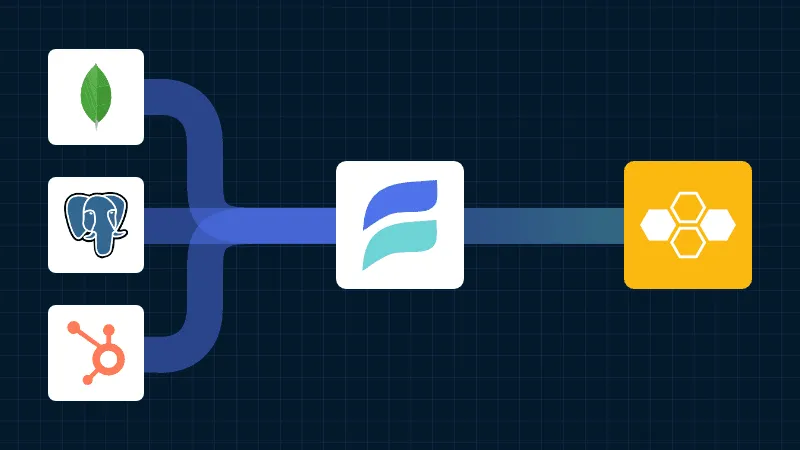
Real-time data processing is crucial in today's business environment. You need to stream data from various sources with minimal latency and process it efficiently to derive actionable insights. The integration between Estuary Flow and Bytewax simplifies real-time data processing, allowing you to stream data from virtually any source with sub-100ms latency into Bytewax for immediate analysis.
In this tutorial, we'll guide you through connecting MongoDB CDC to Bytewax in just a few minutes using Estuary Flow's Kafka-API compatibility layer, Dekaf. We'll use a fun example dataset of a fictional space tourism company to showcase the power of this integration.
Change Data Capture (CDC) is a method used to track and capture changes made to data in a database. It enables real-time capture of insertions, updates, and deletions, providing a continuous stream of changes. This data stream is invaluable for keeping downstream systems synchronized and up-to-date with the source database, facilitating data replication, data integration, and real-time analytics.
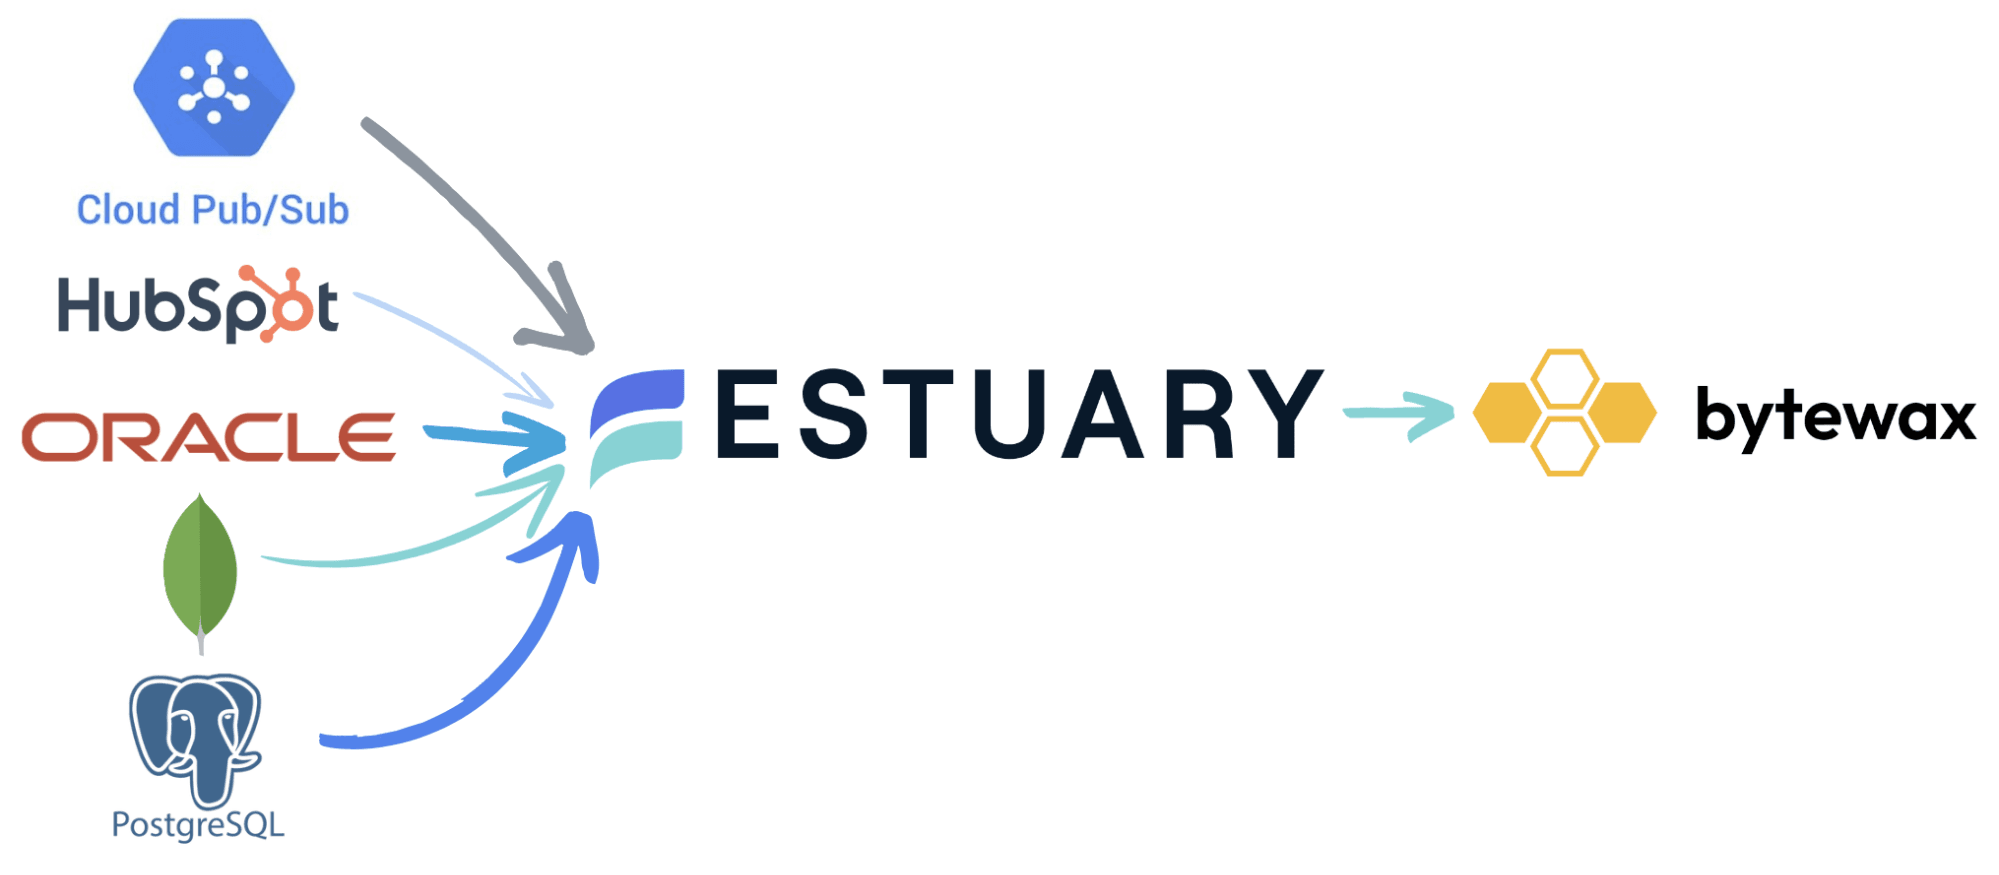
Estuary Flow is a real-time CDC platform built specifically for CDC and streaming. It excels at capturing data from various sources and delivering it to numerous destinations for analytics, operations, and AI. With its event-driven architecture, Estuary Flow ensures data is processed and delivered exactly once, with low latency, making it an ideal solution to use with Bytewax.
Key features of Estuary Flow include:
Bytewax is an open-source Python framework for building highly scalable streaming data processing workloads, referred to as dataflows. It allows you to process streaming data in real-time using a simple, intuitive API. Bytewax is designed to handle high-throughput, low-latency data processing tasks, making it a perfect companion for Estuary Flow.
Dekaf, Estuary Flow's Kafka-API compatibility layer, allows you to connect any destination via its existing Kafka API support to Estuary Flow as if it were a Kafka cluster. This means that Bytewax, which supports reading from Kafka, can ingest data directly from Estuary Flow without any additional configuration.
In this tutorial, we'll build an end-to-end CDC pipeline for a fictional space tourism company, "GalacticVoyages." We'll capture booking data from a MongoDB database, stream it through Estuary Flow, and process it in real-time using Bytewax. You'll learn how to:
For this tutorial, we'll use a Python script to generate mock data for our space tourism company. This script will simulate bookings, cancellations, and updates to our MongoDB database.
import random
import time
from datetime import datetime, timedelta
from pymongo import MongoClient

# MongoDB connection details (replace with your actual details)
client = MongoClient("mongodb://localhost:27017/")
db = client["space_tourism"]
collection = db["bookings"]

destinations = ["Moon", "Mars", "Venus", "Jupiter's Europa", "Saturn's Titan"]

def generate_booking():
    booking_id = random.randint(1, 10000)
    customer_id = random.randint(1, 1000)
    destination = random.choice(destinations)
    booking_date = datetime.now() + timedelta(days=random.randint(30, 365))
    passengers = random.randint(1, 5)
    total_price = passengers * random.uniform(100000, 1000000)

    return {
        "booking_id": booking_id,
        "customer_id": customer_id,
        "destination": destination,
        "booking_date": booking_date,
        "passengers": passengers,
        "total_price": total_price
    }

while True:
    operation = random.choice(["INSERT", "UPDATE", "DELETE"])

    if operation == "INSERT":
        booking = generate_booking()
        result = collection.insert_one(booking)
        print(f"Inserted new booking: {booking}")

    elif operation == "UPDATE":
        booking_id = random.randint(1, 10000)
        new_passengers = random.randint(1, 5)
        new_total_price = new_passengers * random.uniform(100000, 1000000)
        result = collection.update_one(
            {"booking_id": booking_id},
            {"$set": {"passengers": new_passengers, "total_price": new_total_price}}
        )
        print(f"Updated booking ID {booking_id} with new data: {new_passengers} passengers, ${new_total_price:.2f}")

    else:  # DELETE
        booking_id = random.randint(1, 10000)
        result = collection.delete_one({"booking_id": booking_id})
        print(f"Deleted booking ID {booking_id}")

    time.sleep(1)  # Generate an event every second

client.close()
Run this script to start generating mock data:
python space_tourism_datagen.py
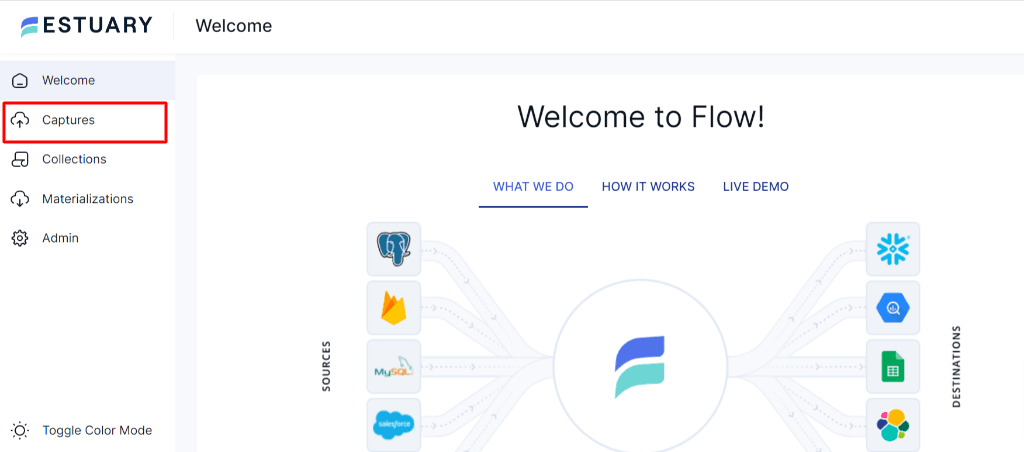 2. Create a new MongoDB capture.
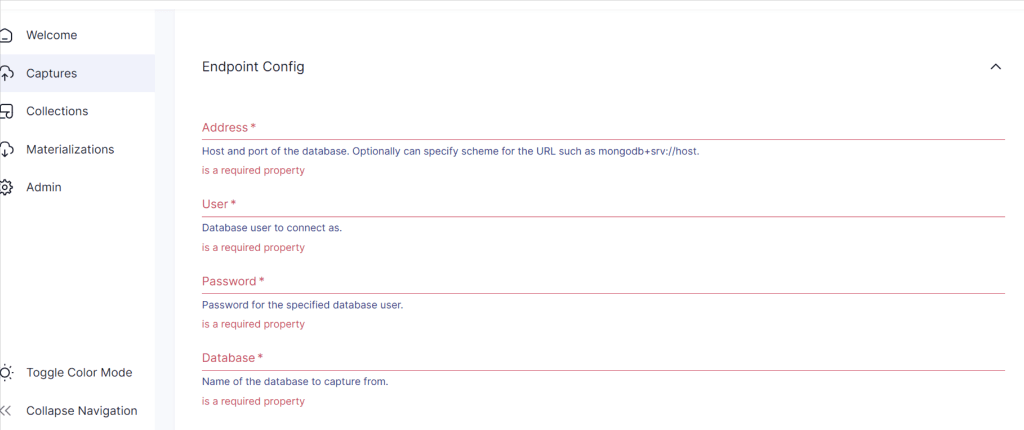
 3. Configure the endpoint using your MongoDB connection string and credentials.
Now that we have our data flowing into Estuary Flow, let's set up Bytewax to process this data in real-time.
First, install Bytewax:
pip install bytewax[confluent-kafa]==0.21
Next, create a Python script for our Bytewax dataflow:
import json
import os
from datetime import datetime, timedelta, timezone

import bytewax.operators as op
import bytewax.operators.windowing as w
from bytewax.connectors.stdio import StdOutSink
from bytewax.dataflow import Dataflow
from bytewax.operators.windowing import TumblingWindower, EventClock
from bytewax.connectors.kafka import KafkaSource

# Kafka configuration (using Estuary Flow's Dekaf)
KAFKA_BOOTSTRAP_SERVERS = ["dekaf.estuary.dev:9092"]

# TODO Change this to the name of your Estuary Flow collection
KAFKA_TOPIC = "/full/nameof/collection/mongodb.space_tourism.bookings"

# Parse the incoming JSON message
def parse_message(msg):
    data = json.loads(msg)
    # MongoDB CDC events have a different structure, so we need to extract the relevant data
    if data["operationType"] in ["insert", "update"]:
        booking = data["fullDocument"]
    elif data["operationType"] == "delete":
        booking = data["documentKey"]
    else:
        return None  # Ignore other operation types

    return (
        booking["booking_id"],
        {
            "operation": data["operationType"],
            "customer_id": booking.get("customer_id"),
            "destination": booking.get("destination"),
            "booking_date": datetime.fromisoformat(
                booking.get("booking_date", "").replace("Z", "+00:00")
            ),
            "passengers": booking.get("passengers"),
            "total_price": booking.get("total_price"),
        },
    )


# Calculate metrics for the current window
def calculate_metrics(key__win_id__values):
    key, (window_id, values) = key__win_id__values
    total_bookings = sum(1 for v in values if v["operation"] in ["insert", "update"])
    total_cancellations = sum(1 for v in values if v["operation"] == "delete")
    total_passengers = sum(
        v["passengers"] for v in values if v["operation"] in ["insert", "update"]
    )
    total_revenue = sum(
        v["total_price"] for v in values if v["operation"] in ["insert", "update"]
    )
    popular_destinations = {}

    for v in values:
        if v["operation"] in ["insert", "update"]:
            dest = v["destination"]
            popular_destinations[dest] = popular_destinations.get(dest, 0) + 1

    most_popular = (
        max(popular_destinations, key=popular_destinations.get)
        if popular_destinations
        else "N/A"
    )

    return {
        "window_end": key,
        "total_bookings": total_bookings,
        "total_cancellations": total_cancellations,
        "total_passengers": total_passengers,
        "total_revenue": total_revenue,
        "most_popular_destination": most_popular,
    }


# Create the dataflow
src = KafkaSource(
    brokers=KAFKA_BOOTSTRAP_SERVERS,
    topics=[KAFKA_TOPIC],
    add_config={
        "security.protocol": "SASL_SSL",
        "sasl.mechanism": "PLAIN",
        "sasl.username": "{}",
        "sasl.password": os.getenv("DEKAF_TOKEN"),
    },
)

flow = Dataflow("trip-metrics")

inp = op.input("input", flow, src)
msgs = op.filter_map("parse-msgs", inp, parse_message)

op.inspect("msgs", msgs)

# Configure the `collect_window` operator to use the event time.
cc = EventClock(
    lambda x: x["booking_date"], wait_for_system_duration=timedelta(seconds=10)
)
align_to = datetime(2024, 9, 1, tzinfo=timezone.utc)
wc = TumblingWindower(align_to=align_to, length=timedelta(minutes=5))

windowed_msgs = w.collect_window("windowed-msgs", msgs, cc, wc)

op.inspect("windowed", windowed_msgs.down)

computed = op.map("compute", windowed_msgs.down, calculate_metrics)
op.output("output", computed, StdOutSink())
This Bytewax dataflow does the following:
To run the Bytewax dataflow:
python -m bytewax.run space_tourism_dataflow:flow
Congratulations! You've successfully set up a real-time data processing pipeline from MongoDB to Bytewax using Estuary Flow. This integration leverages the power of Estuary Flow's CDC capabilities and Bytewax's efficient stream processing to provide real-time insights into your space tourism bookings.
By combining these technologies, you now have a robust system for ingesting, transforming, and analyzing your data as it changes. This setup is scalable and can be expanded to include multiple data sources, making it ideal for modern data architectures that require real-time analytics and insights.
Some potential next steps and ideas to explore:
The possibilities are endless with this powerful combination of Estuary Flow and Bytewax. Happy streaming, and may your space tourism business soar to new heights!
For more information on the capabilities of Estuary Flow and Bytewax, check out their respective documentation pages: